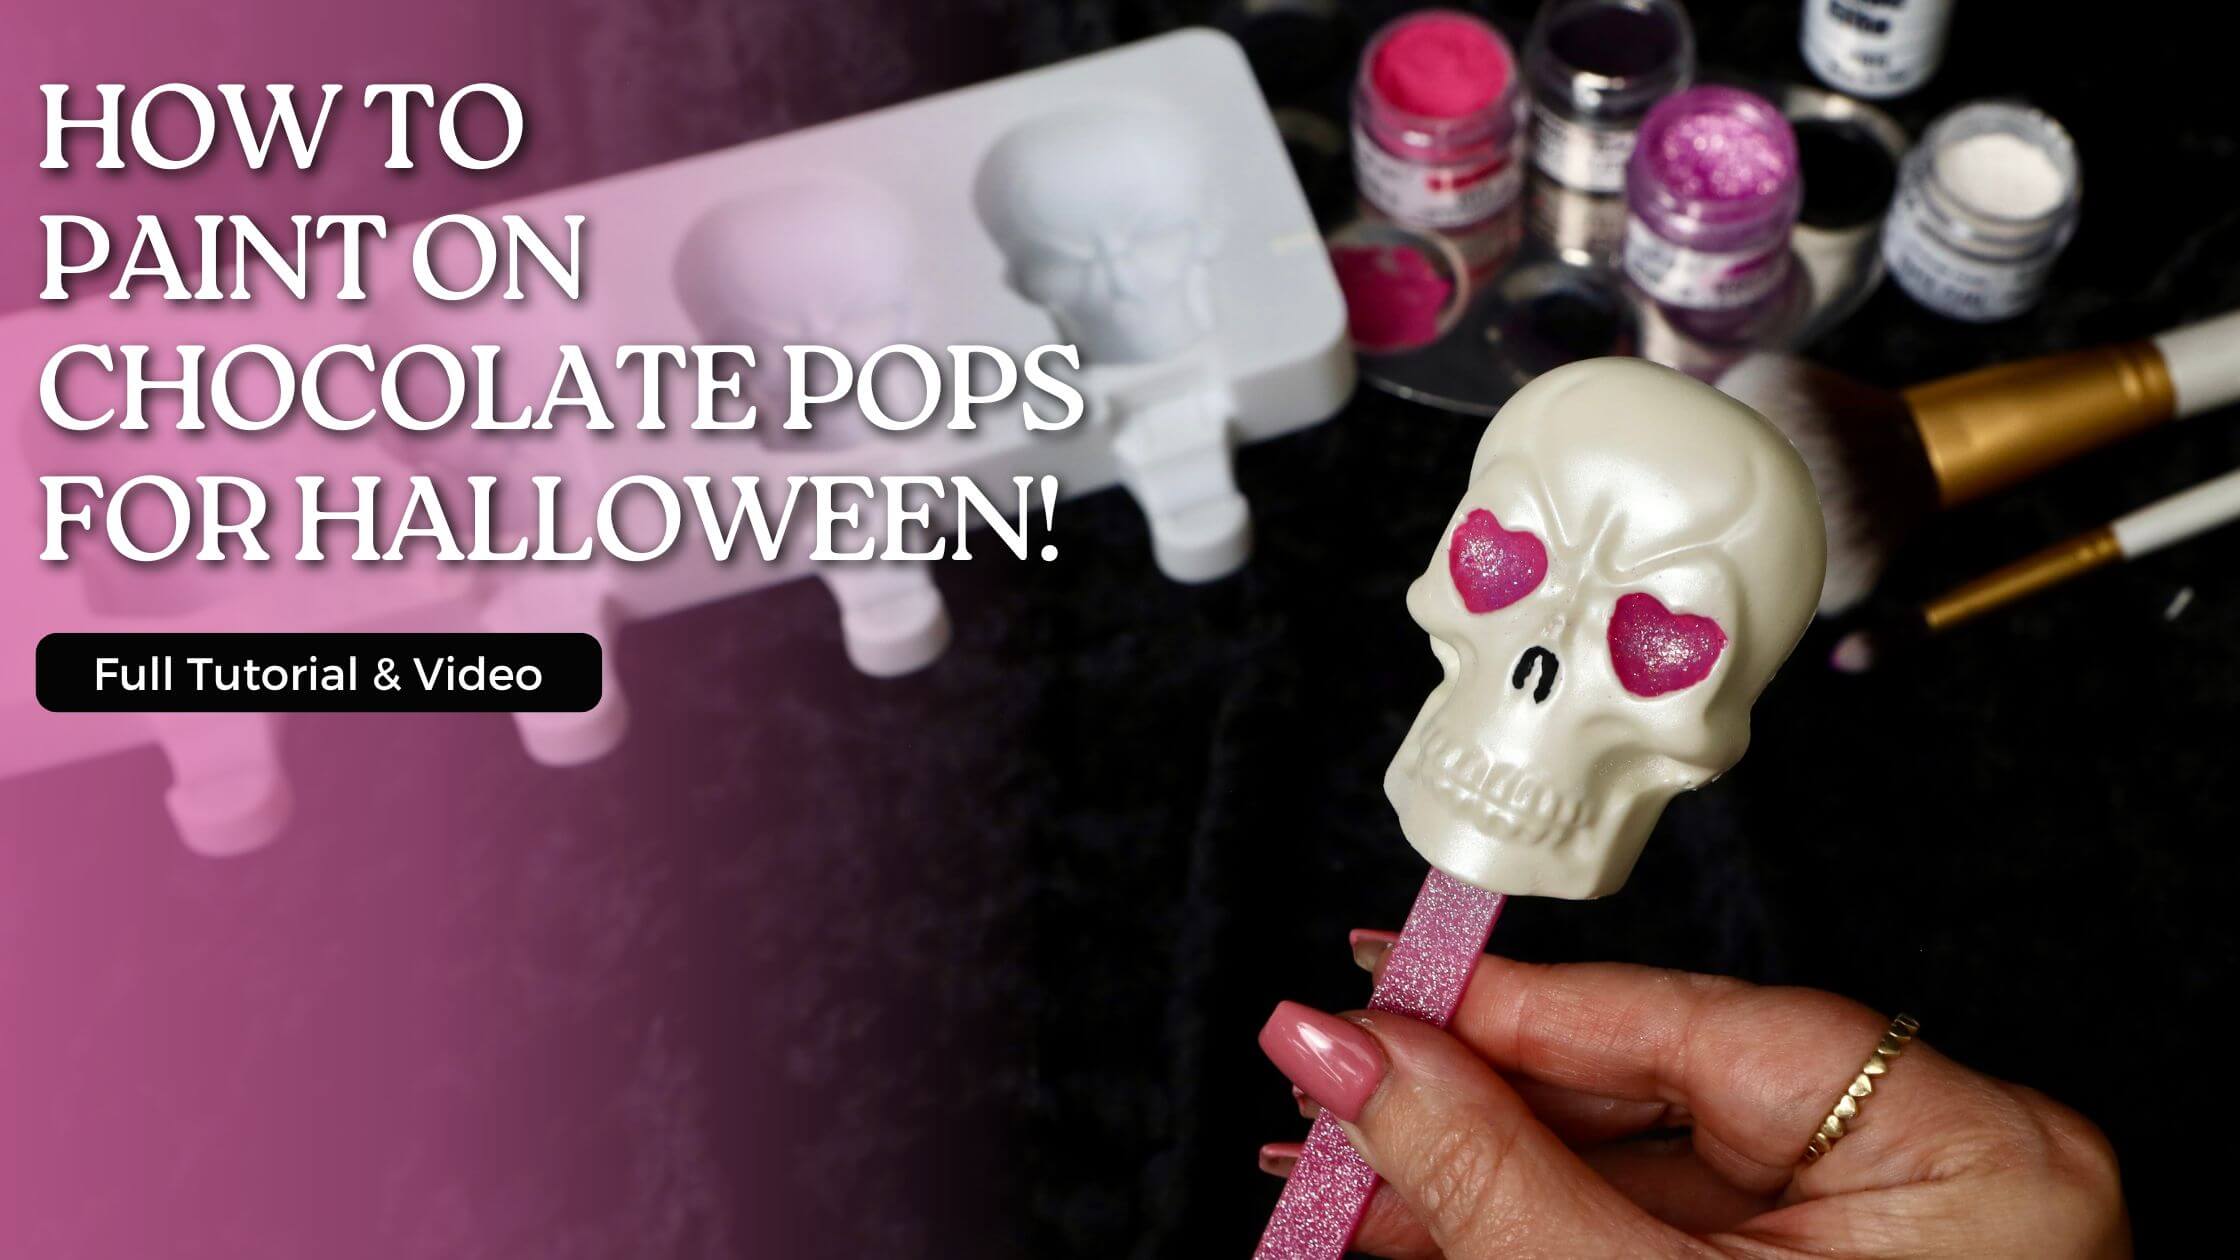
How To Paint On Chocolate Pops With Edible Paint Powders by The Sugar Art
Learn how to paint on chocolate pops with The Sugar Art!
But here at The Sugar Art, we teach how to use them in more ways than that - most especially to create the most amazing matte paint you will ever use on your cakes, cookies, CHOCOLATE treats or any other confections you dream up! Mixed with the unbelievable Color Solution, these Paint Powders will make painting food a breeze.
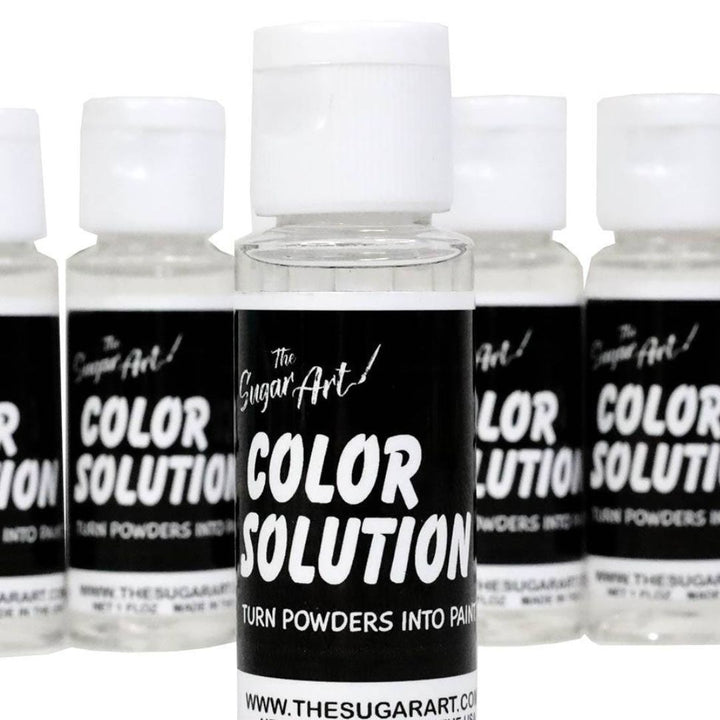
The Color Solution For Edible Paint
$14.00
CREATE THE MOST INCREDIBLE DIY EDIBLE PAINT WITH OUR BRAND NEW FOOD COLOR PAINT SOLUTION! BEST USED WITH ELITE COLORS AND EDIBLE LUSTER DUSTS! FOR MORE INFORMATION AROUND THE PRODUCT AND FOR A VIDEO DEMONSTRATION, CLICK THE LINK BELOW! PLEASE… read more
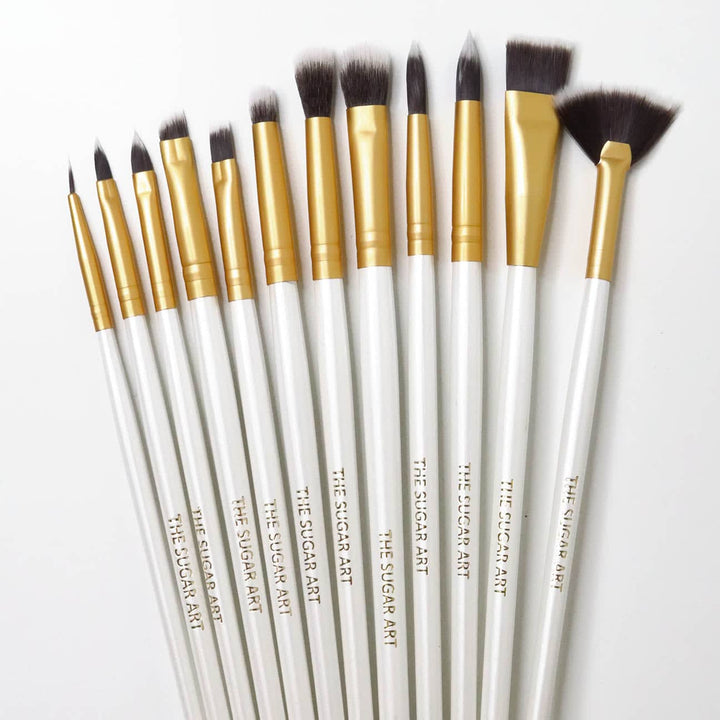
Paint Brush Set
$25.00
BEAUTIFUL CUSTOM PAINT BRUSH SET CREATED BY THE SUGAR ART! THIS SELECTION OF BRUSHES ARE DESIGNED TO MEET ALL OF YOUR PASTRY NEEDS! CUSTOM FOR CAKES, COOKIES & ALL CONFECTIONS! FROM WET TO DRY APPLICATIONS, YOU WILL FIND THE PERFECT… read more
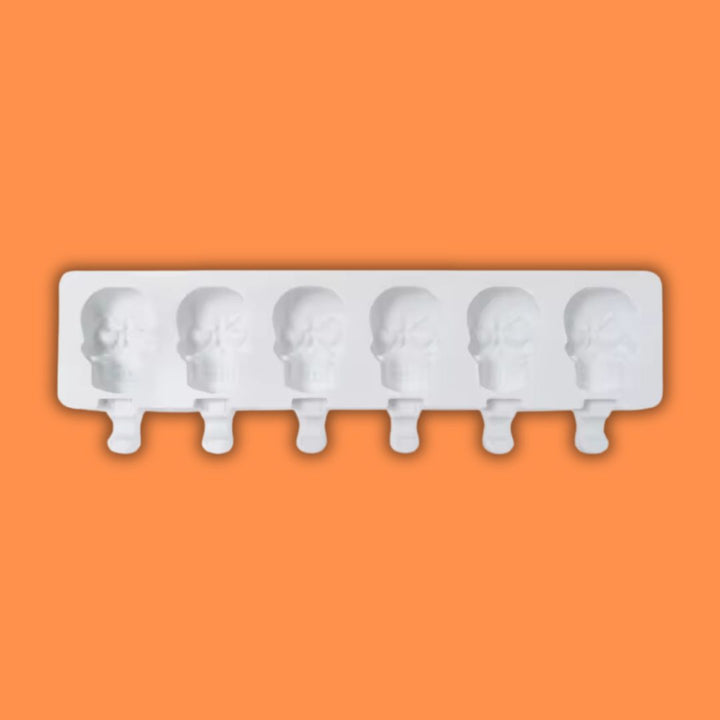
Skull Cakesicle Mold
$6.00
$14.00
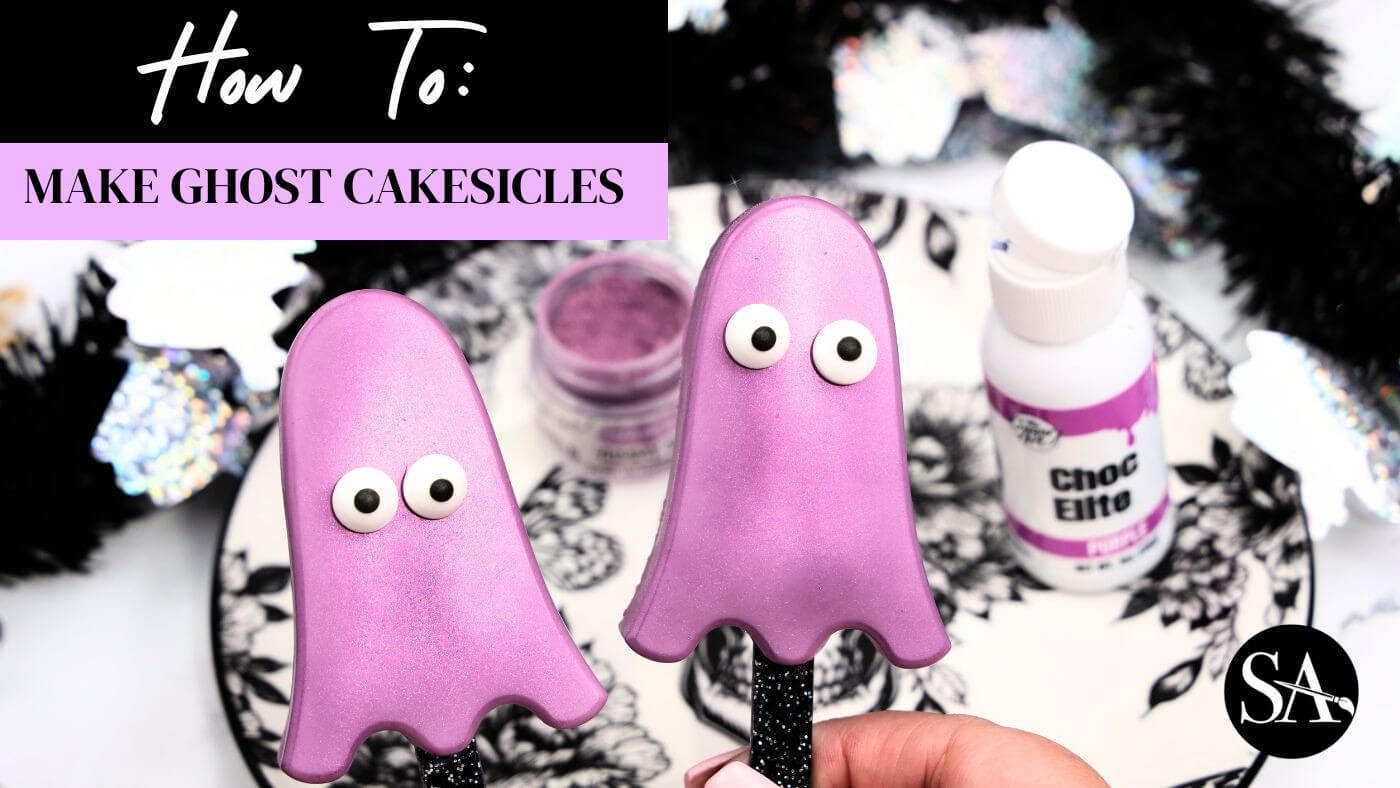
THIS 4-CAVITY SILICONE MOLD IS USED TO MAKE CAKESICLES / CAKE GEMS SPECIFICALLY! NON-STICK SILICONE MOLD FOOD GRADE SILICONE OVEN, REFRIGERATOR & DISHWASHER SAFE TEMPERATURE RANGE -104 FARENHEIT to 466 FAHRENHEIRT DEGREES CAVITY SIZE: 3" X 2" Full tutorial on making Ghost Cakesicles! Click HERE… read more
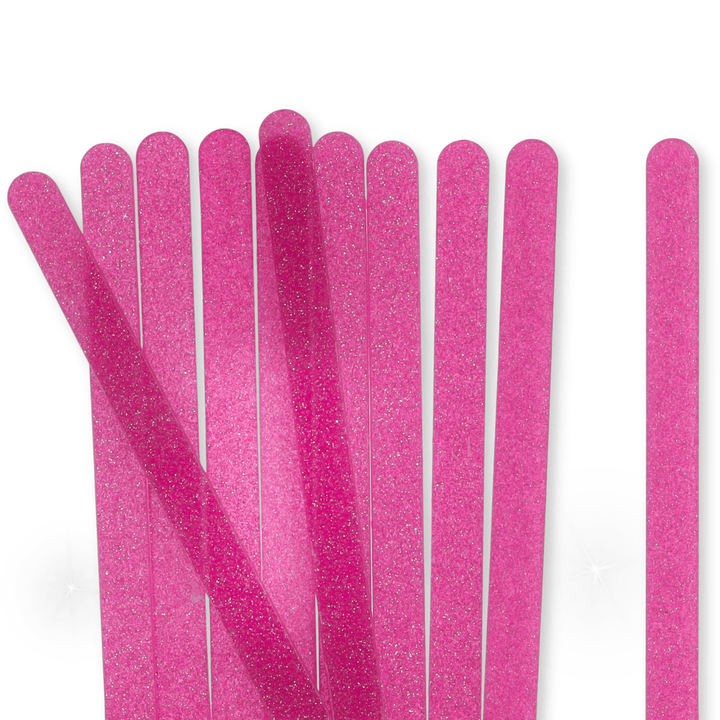
24 Pink Glitter Popsicle Sticks
$6.00
$12.00
A BUNDLE OF 24 POPSICLE STICKS AT AN UNBEATABLE PRICE! USE THESE POPSICLE STICKS FOR YOUR CAKES, COOKIES AND CHOCOLATE TREATS! THEY ARE MOST COMMONLY USED FOR CAKESICLES. THIS SET INCLUDES A SMALLER GLITTER AND THE STICKS ARE NOT CLEAR. IT'S… read more
Paint On Chocolate
Now, let's learn how to paint on chocolate! The Color Solution is the answer to ALL confectionary painting! Use this amazing dilution solution with matte painting powders or metallics! That would be Elite Colors or Sterling Pearls! Today, we are using Edible Paint Powders, or Elite Colors.
Creating the perfect consistency is KEY when painting onto any confection. You want to start with a very small amount of Elite Powder and add The Color Solution drop by drop, until you achieve the perfect painting consistency. It will remind you of acrylic paint! The amazing perk to using Color Solution instead of alcohol for confectionary painting are the gums inside of it ... it gives you a MUCH LONGER working time than straight vodka or ever clear. However, all you have to do is keep adding small drops of Color Solution if the paint begins to dry too much during your process.
Once you have the perfect painting consistency, simply begin painting ... you will find the smoothest finish with Elite Colors and Color Solution. It will take 3-5 minutes for it to fully dry on your confection, but once it is dry - the Color Solution locks in!
Edible Paint - Vibrant Colors and Edible Solution
To create your edible paint, you'll need a list of products: a good PAINT BRUSH SET, palette, The Color Solution and of course - your colors! Again, Elite Colors (not Master Elites) and Sterling Pearls are best when creating your edible paint! All products on this project have been listed below!
Bonus Tutorial: How To Temper Chocolate Ed's Way!
Chocolate artists have been honing their craft for millennia. They are esteemed professionals and this is why chocolate is it's own specific class of talent, because it is not an easy medium to work with! It takes a lot of time to learn how to properly temper and color chocolate!
And Ed has been tempering chocolate since he was a teenager, and he claims it was one of the hardest mediums for him to learn. Today, has has some sound advice on how to achieve a proper temper - but, you must follow all of the steps below. It will take TIME so please be PATIENT with the chocolate, and yourself. If it doesn't work out perfectly the first time, keep trying. You'll get there!
- The most important step is to have the chocolate chopped into smaller pieces, unless you are using chocolate chips. Chocolate chips work just fine.
- You want the water to just start steaming, but not bubbling, on your double broiler.
- After adding the chocolate pieces (or chips) to your bowl - steadily mix the chocolate until it completes melts. You need to continuously mix or the chocolate could burn.
- Grab a thermometer, because you will need it the entire time. An infrared thermometer works perfect, too. You're aiming for a temp of 110-115 Degree Fahrenheit.
- When you reach this temperature, you need to bring it down very quickly adding the fresh chocolate "seed" as Jyoti mentions, unmelted. You're aiming for a temperature of about 90 Degrees Fahrenheit - at which point you can add a little more chocolate to cool it down further. At which point you can add more chocolate until it reaches 83-85 Degrees.
- Then put it back on the double broiler, continuously mixing, to prevent any hot-spots on the chocolate, getting it back to a temperature of 95 Degrees.
- To ensure you have proper temper, add a dollop of your chocolate to a piece of parchment paper. Put in the fridge for 5 minutes and it should hear a clear snap when breaking it in half. It also should not leave any residue on the parchment paper. Both of these are indications that you have a proper temper!
- You can reheat the chocolate on the broiler, but never exceed 105 Degrees after you achieve temper.
THANK YOU!
We appreciate your support very much and hope you will give some of our ideas a try when you paint on Chocolate! Be sure to check out the VARIETY of Edible Paint Powders we sell, and if you're gonna try those - you have to grab The Color Solution, too! These two products mixed together make the dreamiest, easiest, edible paint for all of your desserts!
You should also check out all of our other Chocolate Blogs at this link below. We teach you how to make super simple cakesicles, we also teach you the BEST way to add luster dust to all of your chocolate treats ... there's so much amazing information on our blog, and you will learn how to properly use each color line we manufacture as well.
All The Chocolate Tutorials Shop VIBRANT Chocolate Colors Here!
Tag us if you try any of our techniques or confections in all of your social media posts too! Click the links below to follow!

