How to Make Delicious Cookie Monster Cookies: A Fun and Easy Recipe
Creating whimsical and tasty treats is a delightful way to bring joy to any occasion, and nothing says fun like Cookie Monster cookies. These adorable cookies are perfect for kids' parties, bake sales, or simply as a fun baking project at home. This comprehensive guide will walk you through everything you need to know to make these delightful cookies, from ingredients to step-by-step instructions, along with some tips and tricks to ensure your Cookie Monster cookies are a smashing success.
Ingredients for Cookie Monster Cookies
Before you start baking, it’s essential to gather all the necessary ingredients. Here’s what you’ll need to create these adorable and delicious cookies:
For the Cookies:
- 1 cup unsalted butter
- 1/4 cup granulated sugar
- 1 cup light brown sugar - packed
- 1 tablespoon vanilla extract
- 2 large eggs
- 3.5 Cups APF (all purpose flour)
- 2 tsp cornstarch
- 1/2 tsp salt
- 1 tsp baking soda
- 1 cup white chocolate chips
- 1 cup of milk or semi-sweet chocolate chips
- Blue Gel Food Color - Grab those from us here at The Sugar Art!
Blue Gel Food Color
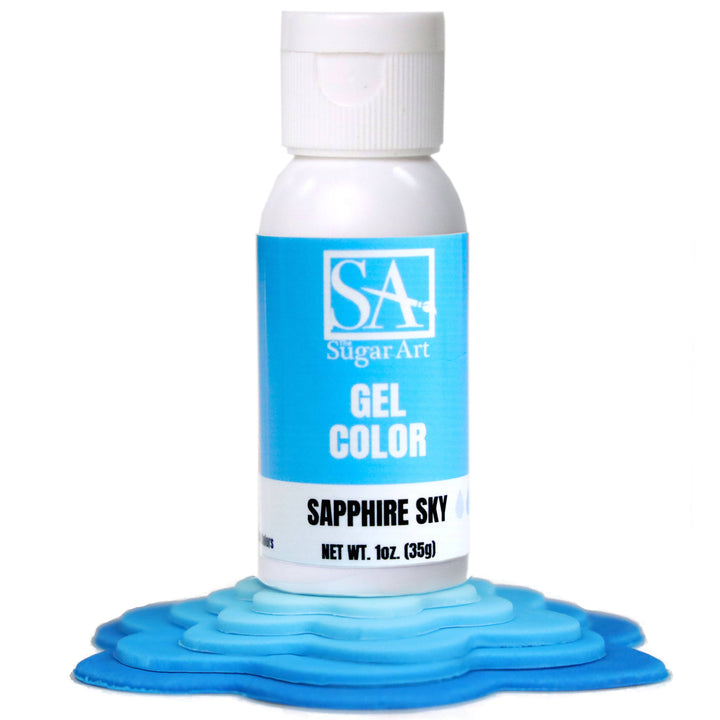
$6.00
Bright Blue Gel Food Coloring For Cakes and Cookies! This Blue Gel Food Color is the most intense blue food color on the market! Achieve a vast array of tones from just one bottle of these gel colors in your… read more
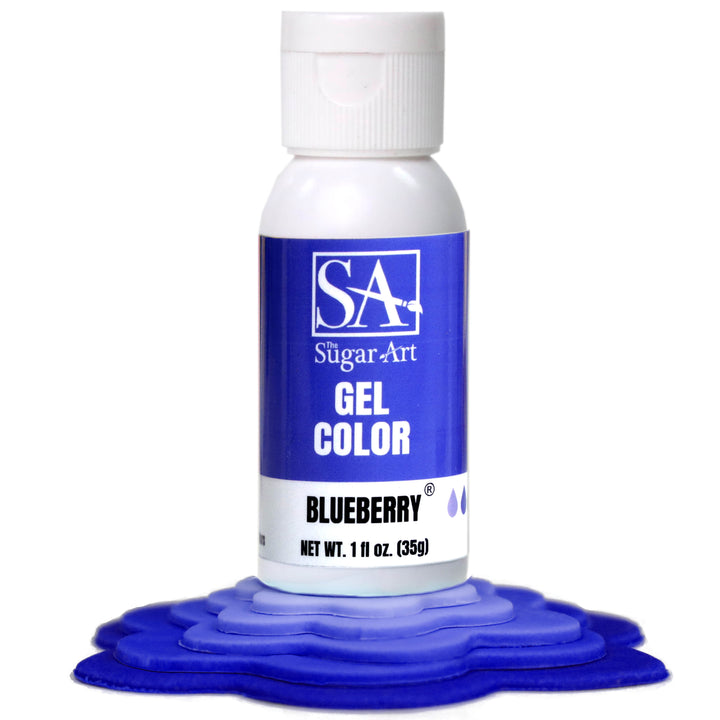
Blueberry Gel Food Color
$6.00
Navy Blue Gel Food Color For Cakes and Cookies This Blueberry (Navy) Gel Food Color is the most intense blue food color you can use for your cakes and cookies! Achieve a vast array of tones from just one bottle… read more
For the Decoration:
- Store bought Mini Chocolate Chip Cookies
- Store bought Mini Oreo Cookies
- Candy eyes - find them at any craft store!
Step-by-Step Instructions
Now that you have all your ingredients ready, let’s dive into the step-by-step process of making Cookie Monster cookies.
Step 1: Prepare the Dough
Preheat the Oven: Preheat your oven to 325°F. Line your baking sheets with parchment paper or silicone baking mats.
Mix Dry Ingredients: In a medium bowl, whisk together the flour, baking soda, salt and corn starch. Set aside.
Cream Butter and Sugar: In a large bowl, cream together the softened butter and both sugars until light and fluffy. This should take about 2-3 minutes using an electric mixer.
Add Egg and Vanilla: Beat in the egg and vanilla extract until well combined.
Incorporate Dry Ingredients: Gradually add the dry ingredients to the wet mixture, mixing until just combined.
Add Food Coloring: Add blue food coloring gel to the dough. Start with around 7 drops of Sapphire Sky and 3 drop of Blueberry Gel and add more until you achieve the desired Cookie Monster blue color. Always ensuring there is more Sapphire Sky to Blueberry ratio. Mix until the color is evenly distributed.
Slowly mix in Chocolate Chips: on low speed, add the milk and white chocolate chips until combined.
Step 2: Shape and Bake the Cookies
Form Dough Balls: Scoop out 2 tablespoon-sized portions of dough (we like the big and chunky). Place them on the prepared baking sheets.
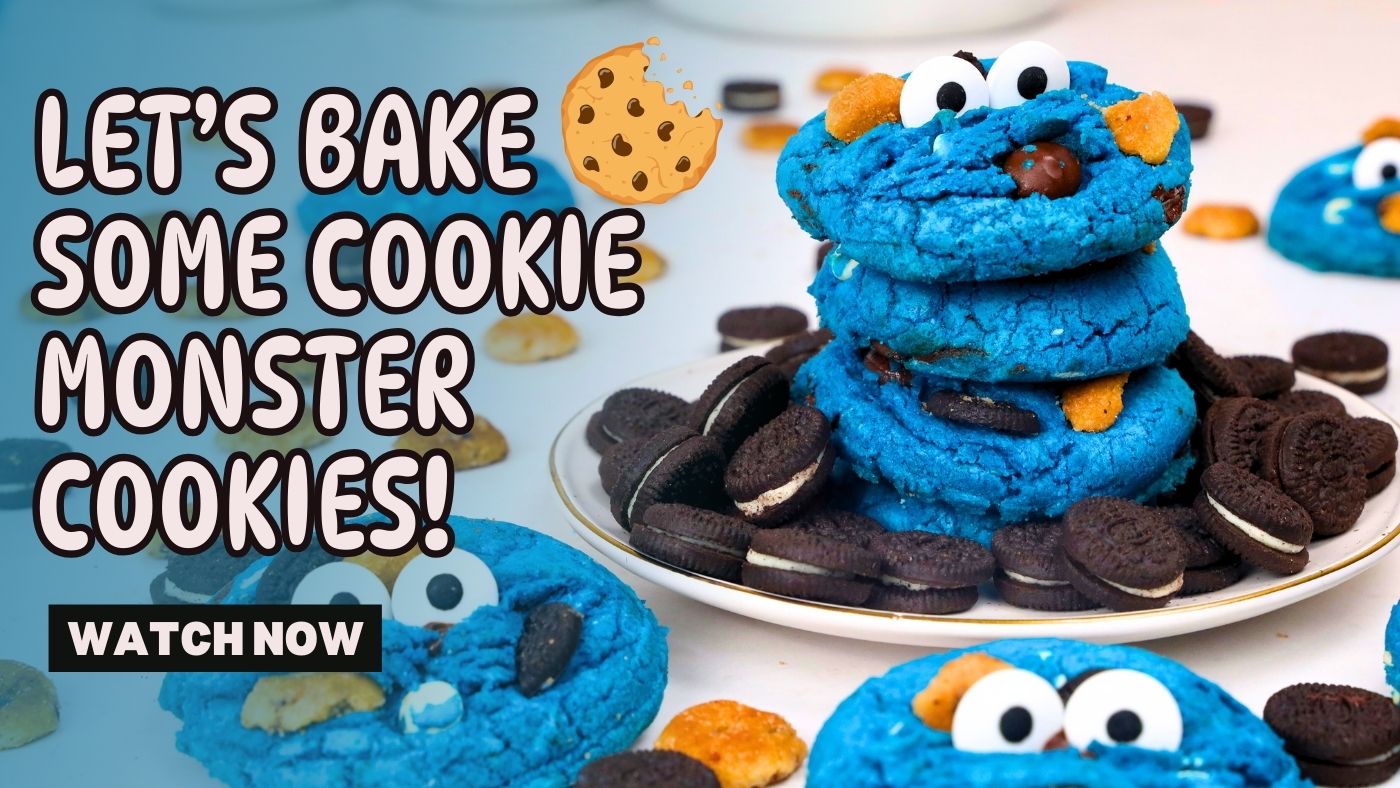
- Stick in the mini cookies before baking: We cut the mini cookies in half, so it appeared as if the Cookie Monster was eating the little cookies.
Bake: Bake the cookies in the preheated oven for 12-15 minutes, or until the edges are lightly golden. The centers may look slightly undercooked, but they will firm up as they cool.
Cool: Allow the cookies to cool on the baking sheets for a few minutes before transferring them to a wire rack to cool completely.
Step 3: Prepare the Decorations
Before baking - Break apart the mini cookies: We cut the mini chocolate chip cookies and mini Oreos in half, so appeared as if the Cookie Monster was eating the cookies once baked.
- Grab your "eye" sprinkles - these will be added immediately to the warm cookies from the oven! Be careful, though.
Step 4: Decorate the Cookies
Attach Eyes: While the cookies are still warm (about 5 minutes OUT of the oven), place the sprinkle eyes onto the cookies. Be careful to not burn yourself. Gently press them in to ensure they stick.
Step 5: Enjoy Your Cookie Monster Cookies
Once the decorations have set, your Cookie Monster cookies are ready to be enjoyed! Serve them at a party, give them as gifts, or simply enjoy them with a glass of milk. These cookies are sure to bring smiles to anyone who sees and tastes them.
Tips and Tricks for Perfect Cookie Monster Cookies
Use Gel Food Coloring
Gel food coloring is more concentrated than liquid food coloring, allowing you to achieve vibrant colors without altering the texture of your dough. Use a toothpick to add small amounts at a time until you reach the perfect shade of blue.
Chill the Dough
If your dough feels too soft or sticky before you scooping it out, chilling it in the refrigerator for about 30 minutes can make it easier to handle and shape.
Customize Your Cookies
Feel free to get creative with your Cookie Monster cookies. You can use different types of chocolate chips, add sprinkles, or even incorporate other flavors into the dough.
Make Ahead and Store
These cookies can be made ahead of time and stored in an airtight container at room temperature for up to a week. You can also freeze the dough balls for up to three months and bake them fresh whenever you need a sweet treat.
Why Cookie Monster Cookies Are a Hit
Cookie Monster cookies are not only adorable and fun to make, but they’re also delicious. The combination of soft, chewy cookies with the sweet and crunchy decorations creates a treat that’s enjoyable for both kids and adults. Plus, the recognizable Cookie Monster theme makes them a perfect choice for Sesame Street-themed parties, birthday celebrations, or any occasion where you want to add a bit of playful charm.
Conclusion
Making Cookie Monster cookies is a delightful way to combine creativity and baking. With a simple cookie dough recipe and some fun decorations, you can create treats that are as delightful to look at as they are to eat. Whether you’re baking for a special occasion or just for fun, these cookies are sure to be a hit. So gather your ingredients, put on your apron, and get ready to bake some monster-sized fun!
By following this guide, you’ll be well on your way to creating delicious and adorable Cookie Monster cookies that will impress your friends and family. Happy baking!
THANK YOU!
We appreciate your support so much and hope you enjoyed this video!
Be sure to follow along our journey!

