
How to Make a simple Graduation Cake Out of Fondant: A Step-by-Step Guide
Curious how to make a simple Graduation Cake? We got you! Watch Ed's quick overview video below and learn all the tips and tricks he has for you in the blog below! This is such a fun graduation cake, anyone could do from home.
Graduation is a significant milestone, and what better way to celebrate this achievement than with a beautifully crafted graduation cap cake? Whether you're a seasoned baker or a fondant novice, creating a graduation cap cake is a fun and rewarding project. This comprehensive guide will walk you through the steps to make a stunning fondant graduation cake that will be the highlight of any graduation party.
Ingredients and Tools
Ingredients:
- 1 6-inch round cake (for the graduation cap) - You can also use a styrofoam drum for this element.
- 1 10-inch round cake for the bottom
- Buttercream frosting
- Black fondant (We use Sating Ice)
- White fondant (for the tassel)
- Cornstarch (for dusting top of counters and working with the fondant)
- Edible glue or water (We'll teach you how to make this with The Color Solution)
- Gel food coloring (Emerald, Charcoal Gray and Red)
Charcoal Gray Gel Food Color
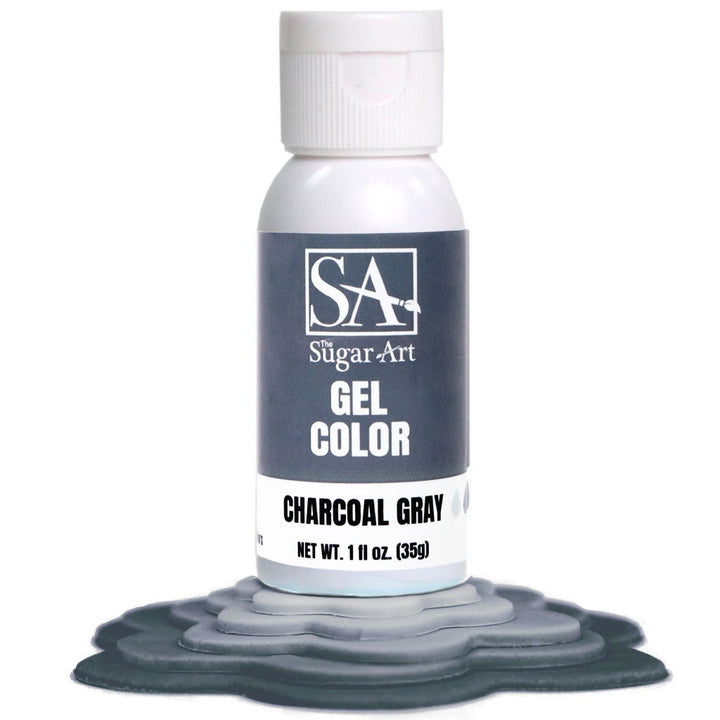
$6.00
Light Gray Gel Food Coloring For Cakes and Cookies Our Charcoal Gray Gel Food Color is a beautiful gray food color for your icings! Achieve a vast array of tones from just one bottle of these gel colors in your… read more
From Ed: How To Achieve This Dark Green Color:
The key to achieving specialty color tones, is by understanding The Color Wheel Theory. Within the Color Wheel we have 3 primary colors: Yellow, Red & Blue. Then there are 3 secondary colors: Orange, Purple & Green.
Any combination of primary and the opposite secondary color, will give you a richer tone. When mixing a primary and a secondary, they are trying to cancel one another out. However, if used in small amounts the secondary color, it can actually make the color richer in tone.
In this case, Green was my main color for this icing and it is classified as a secondary color. By adding the Charcoal Gray, we are shading the green to make it appear darker. You will need less drops of Charcoal than you do green. Once I reached the darkness desired, I went in with even less Red. This was to give it more of a rich tone that took away the brightness of the Green Gel formula.
No matter how much Green Gel you add, all you're doing is taking a sharp green color and making it a darker version of that same sharp color.
Tools:
- Sheeter (not necessary, but makes life easier)
- Rolling pin
- Fondant smoother
- Cake leveler or serrated knife
- Offset spatula
- Small knife or pizza cutter (for the tassels)
- Cake board or poster board (for brim of the hat)
- Pastry food-safe paint brush
Step-by-Step Instructions
Step 1: Prepare the Cakes
-
Bake and Cool the Cakes: For your graduation cake, begin by baking two round cakes according to your favorite recipe or a box mix. Allow the cakes to cool completely on a wire rack. Once cooled, wrap them in plastic wrap and chill in the refrigerator for at least an hour. Chilled cakes are easier to level and frost.
-
Level the Cakes: Use a cake leveler or a serrated knife to level the tops of the cakes, ensuring they are even and flat. This step is crucial for stacking the cakes evenly.
-
Stack and Fill: Place one cake layer on a cake board. Spread a generous layer of buttercream frosting on top, then place the second cake layer on top of the first. Press down gently to secure.
-
Crumb Coat: Apply a thin layer of buttercream frosting all over the stacked cakes. This "crumb coat" will seal in any loose crumbs and provide a smooth surface for the fondant. Chill the cake in the refrigerator for about 30 minutes to set the crumb coat.
Step 2: Cover the Cake with Fondant
-
Knead and Roll Out the Fondant: Knead the black fondant until it is soft and pliable. We like working with Satin Ice Black Fondant, or you can use Master Elite Black to color white fondant - however, it will take a lot of the color to reach that deep black tone. Purchasing Black Fondant is much easier. Dust your work surface with cornstarch to prevent sticking. Roll out the fondant to a thickness of about 1/8 inch, making sure it is large enough to cover the entire cake.
-
Cover the Cake: Carefully drape the rolled-out fondant over the 6-inch chilled cake. Smooth the fondant over the top and sides of the cake using your hands and a fondant smoother. Trim away any excess fondant at the base of the cake with a knife or fondant cutter.
-
Create the Mortarboard: Roll out another piece of black fondant into a square shape to create the mortarboard (the flat top of the graduation cap). The size of the square will depend on the dimensions of your cake, but an 8 inch square typically works well. Set the square aside to dry and harden slightly.
Quick Tip: Make Edible Glue with The Color Solution & Corn Syrup. Simply add the Corn Syrup into a small bowl and then take The Color Solution to dilute it. It is a ration of 2:1, meaning more Color Solution than Corn Syrup. You can use less Color Solution for a thicker "glue" if desired.
$14.00
CREATE THE MOST INCREDIBLE DIY EDIBLE PAINT WITH OUR BRAND NEW FOOD COLOR PAINT SOLUTION! BEST USED WITH ELITE COLORS AND EDIBLE LUSTER DUSTS! FOR MORE INFORMATION AROUND THE PRODUCT AND FOR A VIDEO DEMONSTRATION, CLICK THE LINK BELOW! PLEASE… read moreThe Color Solution For Edible Paint
Step 3: Assemble the Graduation Cap
-
Attach the Mortarboard: Once the fondant square has firmed up a bit, it's time to attach it to the top of the 6-inch cake or cake drum, if you chose to use a faux cake. Apply a small amount of buttercream frosting or edible glue to the center of the cake's top surface, then carefully place the fondant square on top. Press down gently to secure it.
-
Create the Tassel: To make the tassels of this graduation cake, roll out a flat piece of white fondant (8-inches long by 4 inches wide) to about 1/16th of an inch thick. Cut several shorter pieces from this rope to create the individual strands of the tassel. I used a pizza cutter specifically, as it made this process much faster and easier. Gather the strands together at one end, pinch them together, and roll a small piece of fondant around the top to secure them. Attach the tassel to the center of the mortarboard using a dab of the edible glue we made or water.
-
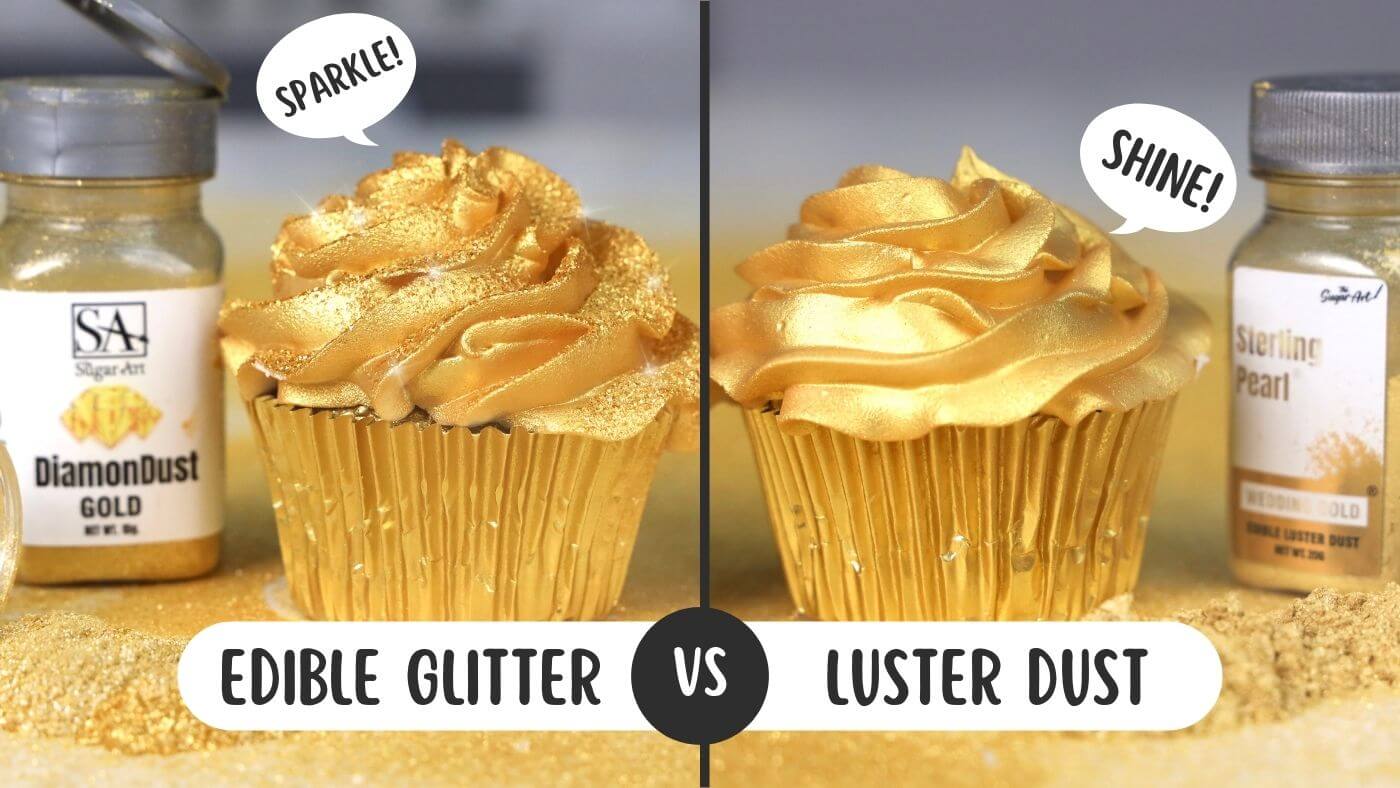
Add Final Details: We molded the word "Congrats" with fondant and then applied edible Luster Dust. You can find that quick technique in this video below. Lightly paint Color Solution on the dried fondant letters and then go back and dry dust the Wedding Gold Luster Dust to add shine. For the tassels, we airbrushed with Wedding Gold and Color Solution - we will include an airbrush tutorial you can click below to learn more on airbrushing with Luster Dusts.
Airbrushing Luster Dust for The Tassels: It was much easier to airbrush because of how fragile the thin Tassels are when fully dried. We airbrushed with Wedding Gold and Color Solution and will link an airbrush tutorial you can click below to learn more on airbrushing with Luster Dusts.

Step 4: Finishing Touches
-
Smooth and Polish: Use the fondant smoother to gently polish the surface of the graduation cake, removing any fingerprints or imperfections. Dust off any excess cornstarch or powdered sugar with a clean, dry brush.
-
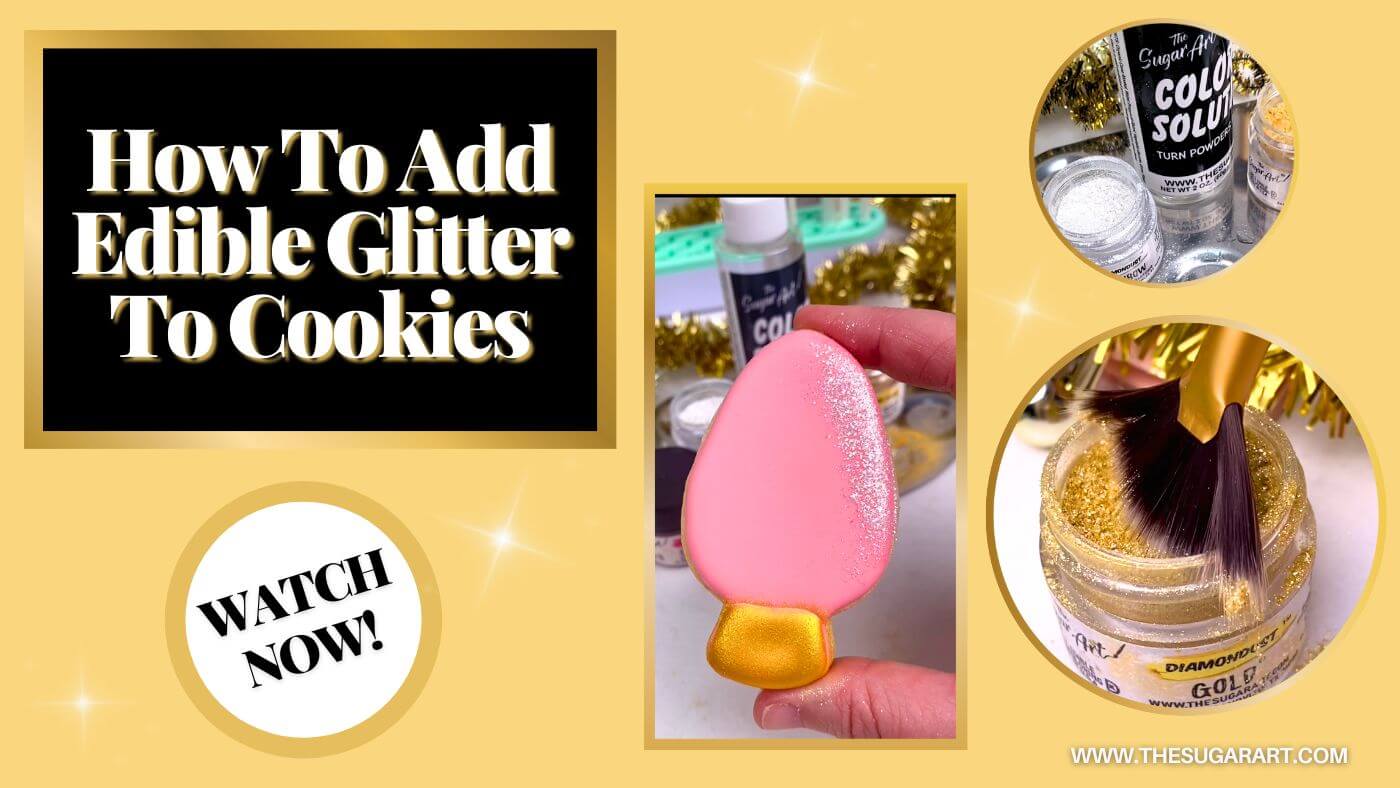
Presentation: Transfer the completed graduation cap cake to a clean cake board or platter. You can add additional decorations around the base of the cake, such as fondant stars, edible glitter, or a congratulatory message.
-
Serve and Enjoy: Your stunning graduation cap cake is now ready to be the centerpiece of the celebration. Slice and serve to the delighted graduates and guests!