How to Make a Stunning Christmas Cookie Tree
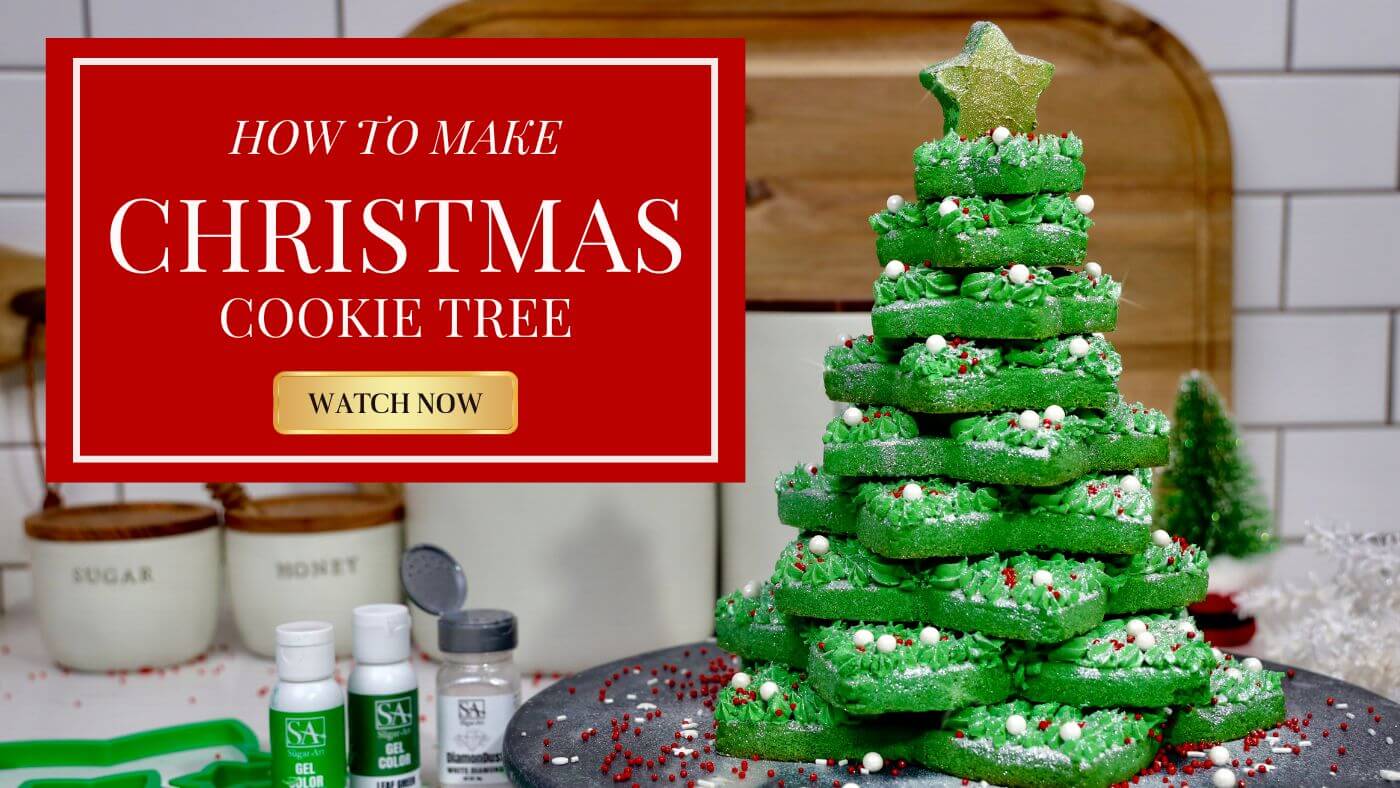
The holidays are the perfect time to let your creativity shine in the kitchen, and nothing says festive cheer like a beautifully decorated Christmas cookie tree. This edible centerpiece is not only stunning to look at but also a fun project to create with family or friends. With The Sugar Art’s vibrant green gel food color, you can take your cookie tree to the next level, coloring both the dough and the buttercream for a cohesive and eye-catching design.
Whether you’re hosting a holiday gathering or looking for a unique gift, a Christmas cookie tree is guaranteed to impress. In this step-by-step guide, we’ll show you how to craft your tree from start to finish, with tips for achieving vibrant colors and decorating with flair.
Ingredients and Tools You’ll Need
Before you start creating your Christmas cookie tree, gather the following ingredients and tools:
Ingredients:
- Sugar Cookie Dough: Use your favorite sugar cookie recipe or pre-made dough. Scroll for our recipe!
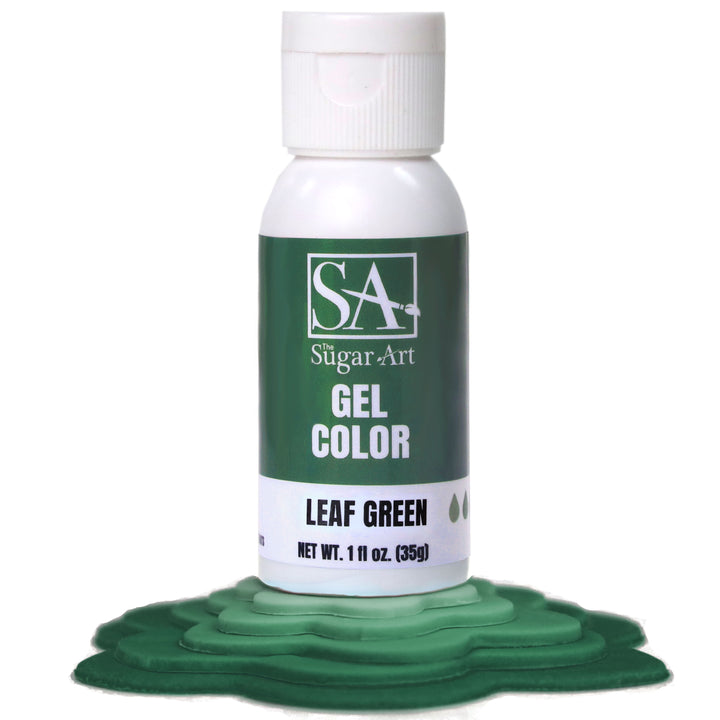
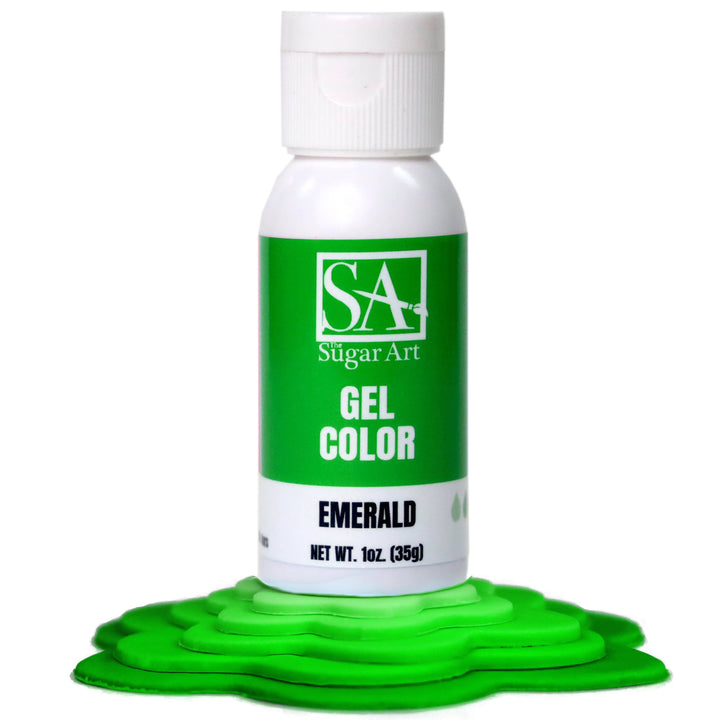
- Green Gel Food Color: The Sugar Art’s green gel food color is perfect for vibrant, even coloring. Here are the two colors we used, using more of the Leaf Green and a little Emerald Green (click here)!
- Buttercream Frosting: For stacking and decorating, tinted with the same two green gel food colors from our shop!
- Decorative Sprinkles and Edible Glitter: To add sparkle and charm to your tree. We used our LARGE WHITE DIAMOND SHAKER JAR, and it was absolute perfection!
- Star Cookie Cutter: A set with varying sizes is ideal for building the tree. You can find one on Amazon, this is the one we used (click here)!
- Pre-made fondant: You can cut out fondant circles (like we did in this video) to help elevate the tree higher, but it is not necessary at all! If you do decide to cut the circles, do them at 1/2 inch thick like the cookies.
Tools:
- Rolling Pin
- Baking Sheets
- Piping Bags
- A Small Star Tip (Ateco or Wilton - Small Open Star 16)
- Toothpicks or Scribe Tools: Not necessary with this particular project, but can be used for detailing.
- Offset Spatula: For spreading buttercream evenly on the top star cookie!
All tools we used from our shop:
Leaf Green Gel Food Color
$6.00
Dark Green Gel Food Coloring For Cakes and Cookies! Our Leaf Green Gel Food Color reaches a rich green tone! With its blue undertones, you will feel like you've just accomplished the most beautiful Green in your icings! Achieve a… read more
Emerald Green Gel Food Color
$6.00
Emerald Green Gel Food Coloring For Cakes and Cookies This Emerald Green Gel Food Color is incredible for your cakes and cookies! Achieve a vast array of emerald green tones from just one bottle of these gel colors in your… read more
Tipless Piping Bags (S or M)

$5.00
$6.99
AWESOME PIPING BAGS ARE HERE! THIS LISTING IS FOR ONE SET OF 100 PIPING BAGS IN SMALL OR MEDIUM SIZE. PERFECT BAGS FOR ICING YOUR COOKIES OR CAKES! WHAT SETS OUR PIPING BAGS APART OF THE THICKNESS. IT'S THICK ENOUGH TO… read more
White Diamond Edible Glitter Large Shaker Jar

$30.00
NET WEIGHT: 15 GRAMS LEARN MORE! Blog & Videos - How To Use Edible Glitter Blog & Video - Glitter Covered Strawberries Video - Edible Glitter Drinks! 100% EDIBLE, FDA COMPLIANT & KOSHER CERTIFIED MADE IN THE USA … read more
Step 1: Preparing the Green Cookie Dough
The base of your Christmas cookie tree is a vibrant green cookie dough, made with The Sugar Art’s green gel food color. This step ensures your tree looks festive even before decorating.
- Mix the Dough: Prepare your sugar cookie dough according to your recipe.
- Recipe we used here (this is the double batch version):
- 2 Cups Salted Butter
- 2 Cups Granulated Sugar
- 2 Large Eggs
- 1 Tablespoons Milk (or cream)
- 2 Teaspoons Vanilla
- 2 Teaspoons baking powder
- 1 Teaspoon Salt (yes, more salt)
- 5 Cups All Purpose Flour
- Recipe we used here (this is the double batch version):
- Add the Green Gel Food Colors: Once the dough is fully mixed, add the green gel food color - see details (drop counts) on "full instructions" below. Start small and gradually add more until you achieve your desired shade. The Sugar Art’s gel colors are highly concentrated, so a little goes a long way!
- Chill the Dough: Wrap the colored dough in plastic wrap and refrigerate for at least 30 minutes (we recommend one hour). This helps the dough hold its shape while cutting and baking.
Full Instructions: Cream together butter, sugar, eggs, milk and vanilla. Add in baking powder and All Purpose Flour to mixture (slowly) and mix on low. Add in Green Gel Food Colors (4-5 drops Emerald and 10-12 drops Leaf Green) for this DOUBLE BATCH. Mix until color is fully combines. Then chill dough for 1 hour in the refrigerator, before cutting out the star shapes. Step 2: Cutting and Baking the Cookies
For a beautiful Christmas cookie tree, you’ll need star-shaped cookies in different sizes to stack and build the tree shape. Here's the set we used one more time (click).
- Roll Out the Dough: Roll the chilled dough to about 1/2-inch thickness on a lightly floured surface. The cutters we linked are thin, so be sure to press down slowly using two hands.
- Cut the Stars: Use a 10-count star cookie cutter set in all sizes. You could cut 2-3 cookies of each size for a full, lush tree - but you will need to make more cookie dough to do this. We used our double batch recipe for all 10-sizes with this cookie cutter set from Amazon. Place as many stars as you can fit on a baking sheet (without overcrowding).
- Chill the cut-out cookies for 15 minutes: Because these are soft cookies, you should chill them after they are cut and placed on the pan for an additional 15 minutes, prior to putting them in the oven. Because they are so THICK, they could potentially spread and this is why you want to chill them once they're cut one more time.
- Bake the Cookies: After chilling for the 15 minutes - bake each tray for 12 minutes, rotating the tray after that 15 minute-mark and bake for an additional 3 minutes. If edges brown sooner, please remove.
Let the cookies cool completely before assembling the tree.Step 3: Tinted Green Buttercream
The buttercream acts as both the “glue” for stacking the cookies and the “needles” of the tree. Tinting the buttercream with the same green gel food color ensures a cohesive look.
- Make the Buttercream: Prepare a classic buttercream using butter, powdered sugar, and vanilla. You can find Ed's recipe here!
- Add Green Gel Food Color: Just like with the dough, add each green gel food color and mix thoroughly, until you achieve a tone close to the cookie dough. You can even do a lighter toned buttercream for a nice contrast!
- Fill a Piping Bag: Use a piping bag fitted with a star tip (Open Star 16 - Wilton or Ateco) to pipe small dollops of frosting for assembling the tree and adding texture.
Step 4: Assembling the Christmas Cookie Tree
Now it’s time to bring your Christmas cookie tree to life! This is where the magic happens.
- Start with the Largest Cookie: Place the largest star cookie on your serving plate or board. Add a dollop of buttercream in the center and either attach the fondant circle like we did, or gently press the next largest cookie on top, offsetting the points slightly.
- Layer and Build: Repeat the process with all the cookies, working from largest to smallest. Use buttercream between each layer to secure the cookies in place.
- Create Texture with Buttercream: Once stacked, use the piping bag to add buttercream accents to the edges of the cookies, mimicking the look of pine needles with your small star tip!
Step 5: Decorating Your Christmas Cookie Tree
The decorations are where you can let your creativity shine! Here are a few ideas to make your Christmas cookie treetruly special:
- Add Edible Glitter: Sprinkle edible glitter from The Sugar Art over the buttercream for a sparkling, frosted look. We loved using the large White DiamonDust Shaker Jar - it really made this look like SNOW!
White Diamond Edible Glitter Large Shaker Jar

$30.00
NET WEIGHT: 15 GRAMS LEARN MORE! Blog & Videos - How To Use Edible Glitter Blog & Video - Glitter Covered Strawberries Video - Edible Glitter Drinks! 100% EDIBLE, FDA COMPLIANT & KOSHER CERTIFIED MADE IN THE USA … read more
- Use Festive Sprinkles: Decorate the “branches” with small sprinkles or candy pearls to mimic ornaments.
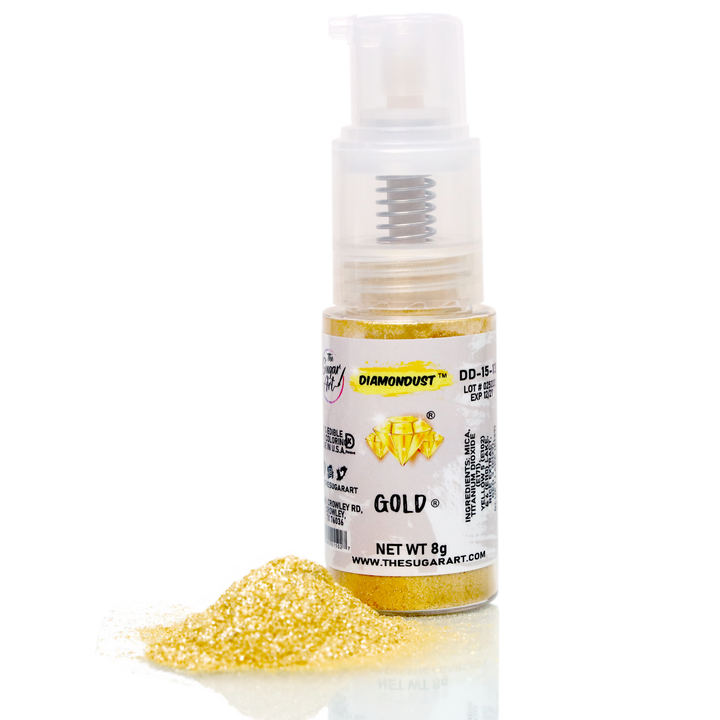
- Top with a Star: Use the smallest cookie from your set and apply buttercream smoothly using a spatula, then spray it down with GOLD DiamonDust! See video again :)
Gold Edible Glitter Large Spray Bottle
$25.00
Try this Gold Edible Glitter Spray Bottle! This is a large spray bottle that includes 8 grams of Gold Edible Glitter Dust! DiamonDust is the best edible glitter for cakes, cookies, desserts and drinks! Best priced edible glitter in the… read more
- Snowy Accents: You could also use powdered sugar lightly over the tree for a snowy effect, we recommend a sieve for this application. But honestly, the White DiamonDust was perfection.
Tips for Success
- Keep the Buttercream Cool: If your buttercream gets too soft while decorating, chill it for a few minutes to firm it up.
- Match Colors Perfectly: Using the same green gel food color in both the dough and buttercream ensures a seamless, polished look.
- Stabilize with Toothpicks: For extra stability, insert toothpicks between layers while stacking, especially if transporting the tree.
Variations on the Christmas Cookie Tree
If you’d like to add a unique twist to your Christmas cookie tree, here are some fun variations to try:
- Flavored Dough and Buttercream: Add peppermint extract to the dough or buttercream for a classic holiday flavor.
- Colored Layers: Use different shades of green for a gradient effect as you build the tree.
- Chocolate Accents: Drizzle melted chocolate over the tree for a rich, decadent look.
Serving and Storing Your Christmas Cookie Tree
Your Christmas cookie tree makes a stunning centerpiece, but it’s also easy to serve and store.
- Serving: Simply remove cookies layer by layer to serve. Pair with hot cocoa or eggnog for a cozy holiday treat.
- Storing: Keep the assembled tree in an airtight container at room temperature for up to 3 days. If storing longer, separate the cookies and buttercream to prevent sogginess.
Why Use The Sugar Art’s Gel Colors?
The Sugar Art’s green gel food color is the secret to achieving a vibrant, professional look for your Christmas cookie tree. Our gel colors are concentrated, easy to mix, and designed for exceptional performance in baking and decorating. Because they are gel-based, they won’t alter the texture of your dough or buttercream, ensuring perfect results every time.
Final Thoughts
Creating a Christmas cookie tree is more than just a baking project—it’s a way to celebrate the season with family and friends, crafting memories as you craft delicious treats. With The Sugar Art’s vibrant green gel food color, your cookie tree will be the star of your holiday table. Whether you’re making one for a party, as a gift, or simply to enjoy at home, this edible centerpiece is guaranteed to spread holiday cheer.
For more baking inspiration and to explore our full range of gel colors, edible glitter, and luster dust, visit The Sugar Art. Happy holiday baking!

