
An Easy Cake Box Cookie for Halloween!
Halloween is a time for spooky fun, creative costumes, and, of course, delicious treats! If you're looking for a unique and magical dessert to whip up for your Halloween festivities, look no further than Hocus Pocus cookies. These enchanting cookies are inspired by the beloved Halloween movie Hocus Pocus and are as easy to make as they are delightful to eat. Using just a few simple ingredients, you can create a batch of cookies that will cast a spell on everyone who tries them. Let's dive into the recipe and explore how to make these deliciously spooky treats.
Ingredients for Hocus Pocus Cookies
The beauty of Hocus Pocus cookies lies in their simplicity. You don't need a pantry full of ingredients or hours in the kitchen to create these magical cookies. Here's what you'll need:
- 1 box of white cake mix
- 1 teaspoon baking powder
- 2 eggs
- 1/2 cup vegetable oil
- 1 teaspoon vanilla extract
- Orange, Purple and Lime Green Gel Food Coloring
Shop Full Gel Collection (click here)
Orange Gel Food Color
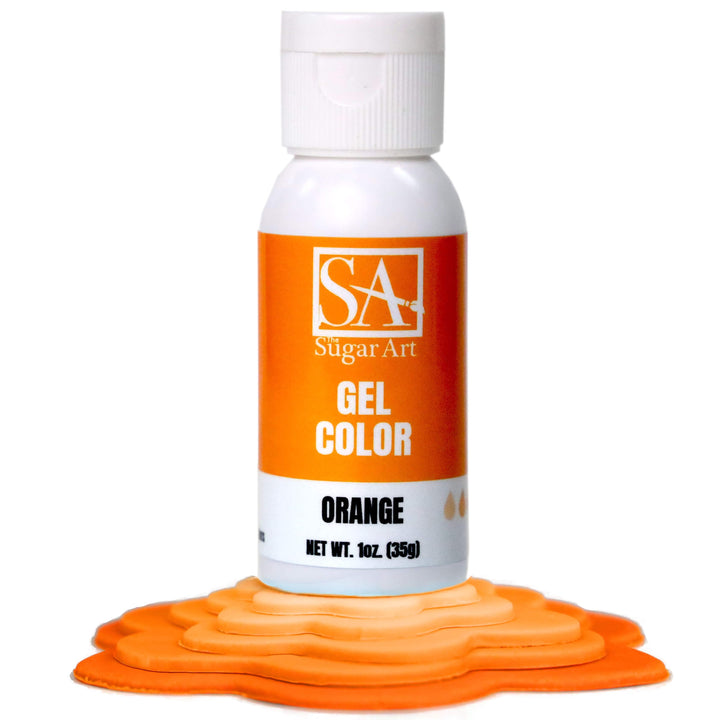
$6.00
Orange Gel Food Coloring For Cakes and Cookies This Orange Gel Food Color is incredible for your cakes and cookies! Achieve a vast array of beautiful orange colors from just one bottle of these gel colors in your icings, fondant… read more
Lime Green Gel Food Color
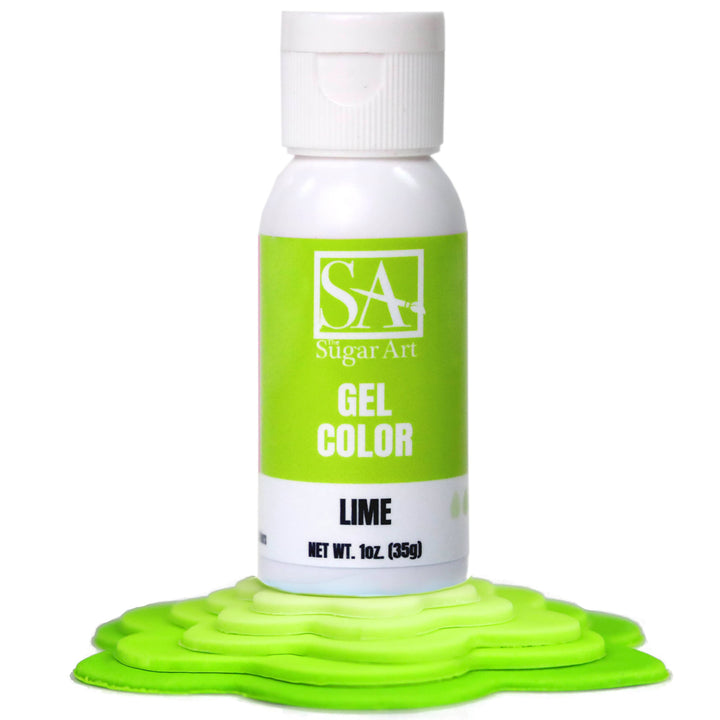
$6.00
Lime Green Gel Food Coloring For Cakes and Cookies This Lime Green Gel Food Color is incredible for your cakes and cookies! Achieve a vast array of lime green tones from just one bottle of these gel colors in your… read more
These five ingredients come together to create a dough that's soft, chewy, and perfect for adding a little Halloween magic. The cake mix provides a sweet, flavorful base, while the baking powder gives the cookies a bit of lift. The eggs and oil ensure the dough is moist and easy to work with, and the vanilla extract adds a warm, comforting aroma.
Step-by-Step Guide to Making Hocus Pocus Cookies
Step 1: Prepare the Dough
Start by preheating your oven to 350°F (175°C) and lining a baking sheet with parchment paper. This will prevent the cookies from sticking and make cleanup a breeze.
In a large mixing bowl, combine the white cake mix and baking powder. Give it a quick stir to ensure the baking powder is evenly distributed throughout the mix.
Next, add the eggs, vegetable oil, and vanilla extract to the dry ingredients. Use a hand mixer to blend everything together until it forms a sticky dough.
To make HOCUS POCUS COOKIES: split the dough evenly in three small bowls and add in your Orange, Purple and Lime Green Gel Food Coloring, using a spatula or your hands (gloves will help, here) knead the dough until it's fully colored!
Step 2: Shape and Create the Cookies
Once your dough is ready, it's time to shape the cookies. Scoop out tablespoon-sized portions of dough using a cookie scoop. Place the dough balls on the prepared baking sheet, leaving about 2 inches of space between each one. The cookies will spread slightly as they bake, so make sure they have enough room.
Once they're on your pan, add the white chocolate chips (3 per cookie worked for us) and sprinkles before baking.
ANOTHER DECORATING IDEA, if you don't like what we did here: consider rolling the dough balls in colored sugar or sprinkles before placing them on the baking sheet. Orange, purple, and green sugar are perfect for a Halloween theme, and they'll give your cookies a fun, festive look.
Step 3: Bake the Cookies
Place the baking sheet in the preheated oven and bake the cookies for 10-12 minutes, or until the edges are set and the tops are just starting to crack. The cookies should still be soft in the center when you remove them from the oven. They'll continue to firm up as they cool, resulting in a perfectly chewy texture.
Allow the cookies to cool on the baking sheet for a few minutes before transferring them to a wire rack to cool completely. This will prevent them from breaking apart while they're still warm.
Step 4: Even more Decorating Ideas for these Hocus Pocus Cookies!
Now that your cookies are baked and cooled, it's time to add the finishing touches that will make them truly magical. Here are a few ideas to get you started:
Frosting and Sprinkles: Spread a thin layer of vanilla or cream cheese frosting on each cookie, then top with Halloween-themed sprinkles. Ghosts, bats, and candy corn sprinkles are all great options.
Candy Eyes: Give your cookies a spooky look by pressing candy eyes into the tops while they're still slightly warm. The eyes will stick to the cookies and create a fun, googly-eyed effect.
Drizzle with Chocolate: Melt some white or dark chocolate and drizzle it over the tops of the cookies. You can even tint the white chocolate with food coloring to match your Halloween theme.
Sandwich Cookies: Turn your Hocus Pocus cookies into sandwich cookies by spreading a layer of marshmallow fluff or buttercream frosting between two cookies. The sweet filling will add an extra layer of flavor and make the cookies even more indulgent.
Step 5: Enjoy the Magic!
Once your Hocus Pocus cookies are decorated to your liking, it's time to dig in! These cookies are perfect for serving at a Halloween party, bringing to a potluck, or simply enjoying with a cup of hot cocoa on a chilly autumn night. The combination of the soft, chewy texture and the sweet, vanilla flavor is sure to cast a spell on anyone who tries them.
Tips and Tricks for Perfect Hocus Pocus Cookies
1. Choose Your Cake Mix Wisely
While this recipe calls for white cake mix, you can experiment with other flavors if you like. Yellow cake mix, funfetti cake mix, or even chocolate cake mix would all work well in this recipe - but we chose WHITE Cake Mix because we wanted to color the dough itself.
Anytime you want to color actual cookie dough, having the most neutral base will help your color POP.
2. Don't Overbake
The key to achieving the perfect chewy texture is to avoid overbaking the cookies. They should look slightly underdone when you take them out of the oven, with the edges set and the centers still soft. As the cookies cool, they'll firm up and develop that irresistible chewiness.
3. Get Creative with Decorations
One of the best things about Hocus Pocus cookies is that you can get as creative as you want with the decorations. Try experimenting with different colors of frosting, sprinkles, and candies to make each batch unique. You can even involve the kids in the decorating process and let them create their own spooky designs.
4. Make Ahead and Store
If you're planning to make these cookies for a party or event, you can prepare the dough in advance and store it in the refrigerator for up to 48 hours. When you're ready to bake, simply scoop and bake as directed. The baked cookies can be stored in an airtight container at room temperature for up to five days, or frozen for longer storage.
5. Double the Recipe for a Crowd
This recipe makes about 24 cookies, but it's easy to double if you're baking for a large group. Simply double all the ingredients and bake the cookies in batches. You can also make smaller cookies by using a teaspoon-sized scoop of dough, which will yield more cookies overall.
Conclusion
Hocus Pocus cookies are a fun and delicious way to celebrate Halloween or any other occasion that calls for a little magic. With just a few simple ingredients and a bit of creativity, you can whip up a batch of these enchanting cookies in no time. Whether you're baking for a party, a bake sale, or just for fun, these cookies are sure to be a hit with kids and adults alike.
So, gather your ingredients, preheat your oven, and let the magic begin! Happy baking!
THANK YOU!
We hope you enjoyed this tutorial! Tag us if you try any of our products or techniques in all of your social media posts too! Click the links below to follow!