It's the most wonderful time of the year, y'all! So, let's talk Christmas Cookie Decorating Ideas shall we? In this blog we're going to share with you a FREE sugar cookie recipe, a FREE royal icing recipe and some darn good decorating ideas, to boot!
Starting with the MOST AMAZING sugar cookie recipe ever! This was shared by Ed's mother-in-law last Christmas and is very near and dear to all of our hearts. It has a rich family history and originated by Holly's great-grandmother during the Great Depression and World War Two. It really is the best recipe for your Christmas cookie decorating ideas, so please feel free to use this amazing in all of your personal sugar cookie work. However, please do not re-sell or distribute this recipe in any capacity. Scroll to review IP Notice below.
The Best Sugar Cookie Recipe Ever (Click here for blog)
What you'll need:
For Christmas Cookie Decorating Ideas, you first need Vibrant Gel Colors and Edible Glitter Spray Dust!
Rainbow Edible Glitter Large Spray Bottle
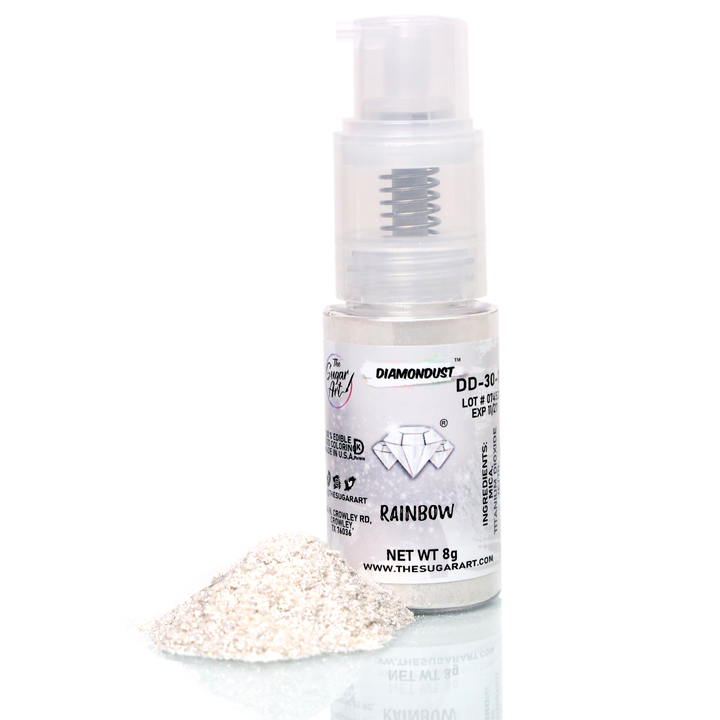
$25.00
Try this Rainbow Prism Edible Glitter Spray Bottle! This is a large spray bottle that includes 8 grams of Edible Glitter Dust that reflects a spectrum of color when the light hits it! DiamonDust is the best edible glitter for… read more
INGREDIENTS
- 1 Cup Salted Butter
- 1 Cup Sugar
- 1 Egg
- 1 tablespoon of heavy cream
- 1 tsp pure vanilla extract
- 2.5 Cups All Purpose Flour
- 1 tsp baking powder
- 1/2 tsp of salt (yes, even more salt)
I N S T R U C T I O N S
Cream together butter, sugar, eggs, vanilla and milk (or heavy cream)
In a separate bowl mix together flour, salt and baking powder.
Then stir dry ingredients into butter mixture. Mix well.
Roll the dough.
Cut the cookies into shapes and lay on your baking sheet.
Chill for 15 minutes.
Bake at 350 Degrees for 12 minutes.
Then rotate pan and bake for another 3-5 minutes, or until the edges are barely golden.
And voila, the best sugar cookie recipe ever is COMPLETE!
A good sugar cookie recipe is the BEST tool for your Christmas Cookie Decorating Ideas!
Royal Icing For Christmas Cookies
Now that you know how to make the most amazing sugar cookies ever, let's talk about the best icing for your Christmas cookie decorating ideas! We prefer to use one recipe for two consistencies - both outlining and flooding! It shorten the decorating time immensely, and if you follow Ed's exact instructions - ensuring that you reach a 15-16 second consistency at the end - you will see that this recipe is a perfect medium consistency!
If you want our opinion, we prefer glaze for Christmas cookies. However, if you're wanting to DECORATE IN DETAIL your Christmas cookies, royal icing is the best choice. It not only gives you the freedom to flood your cookies in a uniform manner, it also gives you the best chance at adding details along the way.
So check out our favorite royal icing recipe for both flooding and outlining here:
Ed's Royal Icing Recipe
- 2 pounds of confectioner sugar (10x or greater)
- 6 tablespoons of Wilton meringue powder
- 19 tbs of ROOM TEMP water
- Mix on low - medium until you reach a 12 second consistency. This means, you will watch the icing drop down from the mixer and count the number of seconds until it is completely level inside of the bowl.
- Once at a 12-13 second consistency, cover with a damp cloth and let the icing rest for 20 minutes.
- Then on low speed, mix the icing for 30 second intervals, counting the "seconds" until you achieve a 15-16 second consistency.
- At 15 seconds, Ed and Holly both feel this is the best medium consistency for both outlining and flooding. However, feel free to mix longer if you prefer firmer icing.
- Pro Tip - If you over whipped your icing and the consistency is too firm, you can add 1 tsp of water at a time to thin it out. On the other hand, if you're icing is too thin - continue to mix.
Christmas Cookie Decorating Ideas!
First, let's talk about WHY The Sugar Art Gel Colors absolutely need to be involved in your Christmas Cookie Decorating!
The Magic of Sugar Art Gel Colors in Cookie Decorating
These vibrant and highly concentrated food colors are perfect for achieving a wide range of hues, from bold and bright to subtle and pastel. In this section, we'll delve deeper into what makes Sugar Art Gel Colors so special, how to use them effectively, and why they are a favorite among professional bakers and home decorators alike.
What Makes Sugar Art Gel Colors Stand Out?
- High Concentration: Sugar Art Gel Colors are known for their high concentration of pigments. This means that you need only a small amount to achieve rich, vibrant colors, which makes them economical and long-lasting. Unlike liquid food coloring, which can dilute your icing or batter, gel colors provide intense color without altering the consistency. They really are the perfect coloring for your Christmas Cookie Decorating ideas!
Versatility: These gel colors are incredibly versatile and can be used in various applications, including royal icing, buttercream, fondant, cookie dough, and even cake batters. This versatility allows bakers to create a cohesive color scheme across different elements of their baked goods.
Mixability: Sugar Art Gel Colors mix seamlessly, allowing you to create custom colors and shades. This is particularly useful for achieving specific tones that match a theme or a particular design vision. The colors blend smoothly without streaking, ensuring a professional finish.
Wide Range of Colors: Available in a wide array of shades, from primary colors to metallics and neons, Sugar Art Gel Colors offer endless possibilities for creative expression. Whether you're decorating cookies for a holiday, a birthday, or any special occasion, there's a color to match your needs.
How to Use Sugar Art Gel Colors
Using Sugar Art Gel Colors is simple, but a few tips can help you get the best results:
Start with a Small Amount: Because these colors are highly concentrated, start with a small amount and gradually add more until you achieve the desired shade. You can always add more color, but you can't take it out once it's mixed in.
Mix Thoroughly: Ensure that the color is evenly distributed by mixing thoroughly. This is particularly important when working with larger batches of icing or batter to avoid streaks.
Color Development: Allow the colored icing or fondant to sit for a few minutes after mixing. The color may deepen as it sits, so it's a good idea to let it rest before making any final adjustments.
Why Professionals Love Sugar Art Gel Colors
Professional bakers and decorators prefer Sugar Art Gel Colors for several reasons:
Consistency and Reliability: The consistent quality of Sugar Art Gel Colors ensures that every batch of cookies looks perfect. Professionals rely on these colors to deliver the same vibrant results time after time.
Creative Freedom: The wide range of available colors and the ability to mix custom shades give professionals the creative freedom to bring any design to life.
Efficiency: Because only a small amount of gel color is needed to achieve vibrant hues, professionals can work efficiently and economically, which is important in a commercial setting.
- Outline the Cookie: Use a piping bag fitted with a small round tip to outline the edge of the cookie with thick icing.
- Fill the Cookie: You can the icing slightly with water until it reaches a consistency that spreads easily, or try our medium consistency icing recipe (see above) for a consistency we love for both outlining and flooding royal icing. Use a piping bag to fill in the outlined area.
- Smooth the Surface: Use a toothpick or scribe tool to spread the icing evenly and pop any air bubbles.
Finally, Here are 10 creative Christmas cookie decorating ideas for royal icing sugar cookies:
1. Classic Christmas Trees
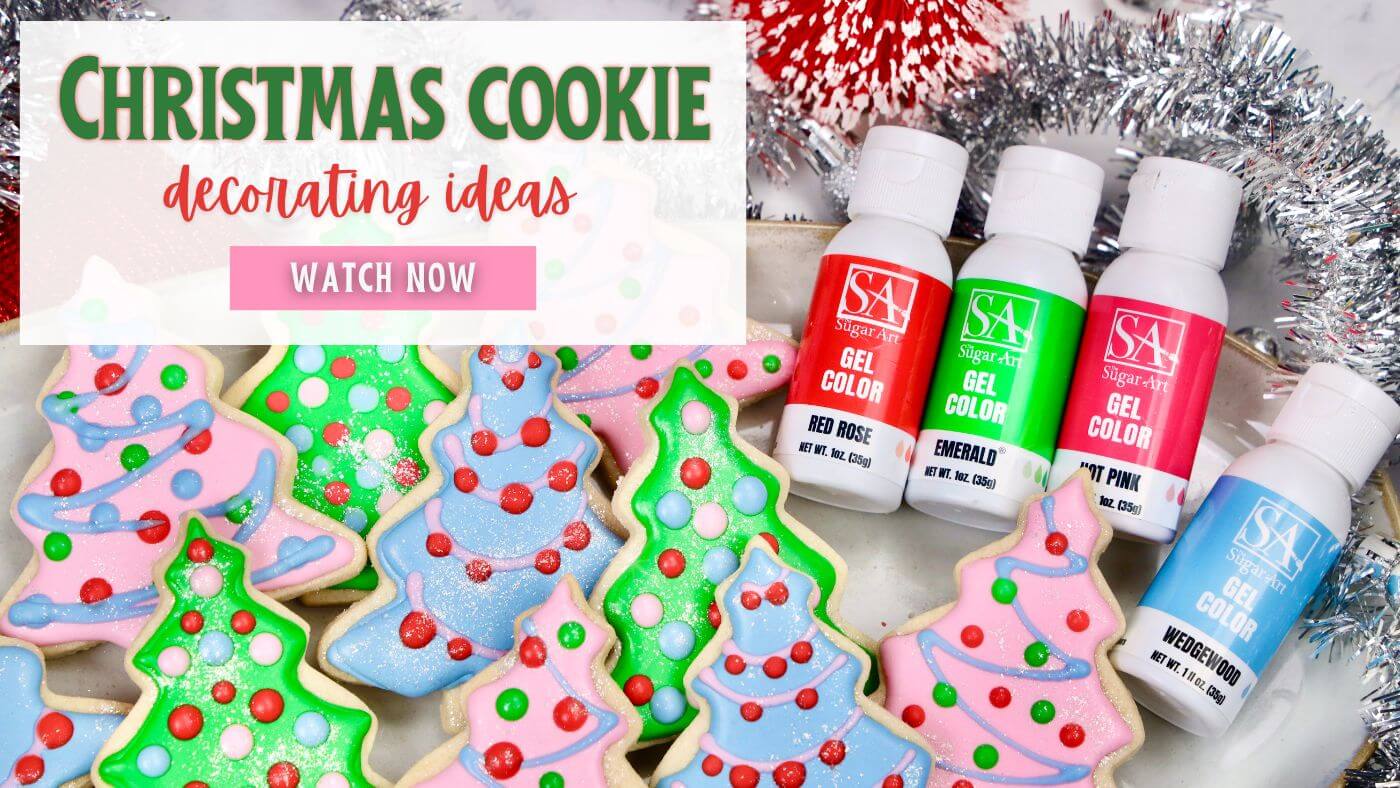
- We love simple cookie designs, especially when you're needing to make a BUNCH of cookies! Christmas trees will always be the way to go! Use our Emerald Green Gel to color royal icing to flood a tree-shaped sugar cookie. Add piped garlands, dots (for ornaments), and the best edible glitter, DiamonDust (click here)! We especially love Rainbow DiamonDust for Christmas Cookies, as it has so many beautiful reflective colors!
Emerald Green Gel Food Color
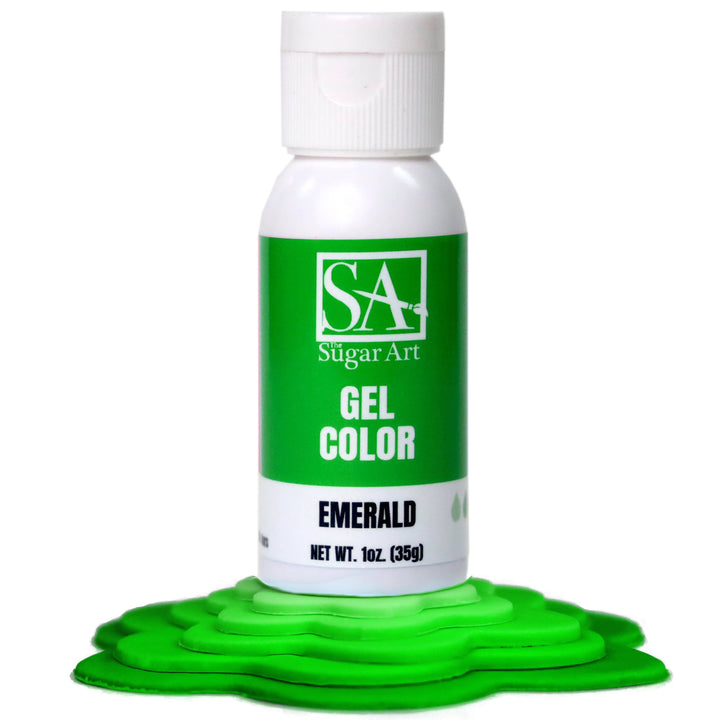
$6.00
Emerald Green Gel Food Coloring For Cakes and Cookies This Emerald Green Gel Food Color is incredible for your cakes and cookies! Achieve a vast array of emerald green tones from just one bottle of these gel colors in your… read more
Rainbow Edible Glitter
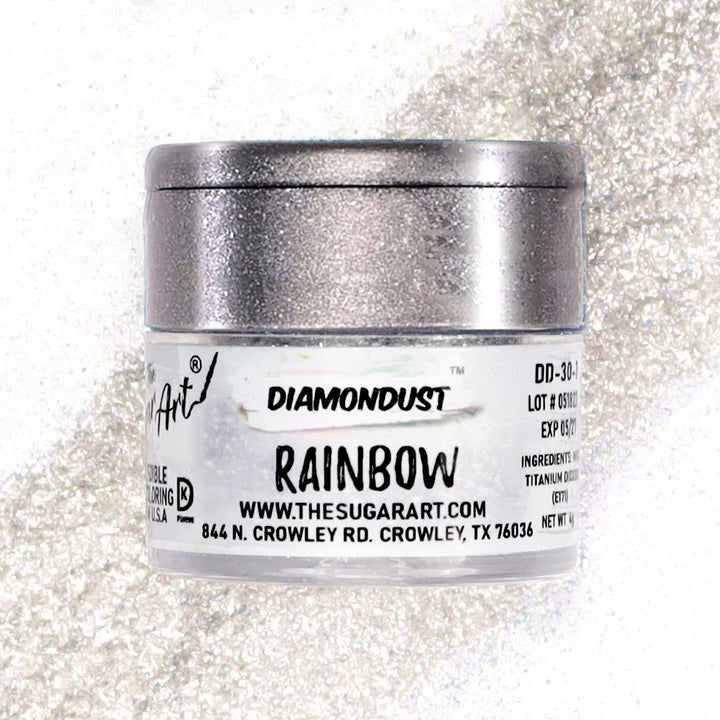
$9.00
OUR NEW RAINBOW EDIBLE GLITTER IS AMAZING! IT HAS MANY REFLECTIVE COLORS RESULTING IN A PRISM FINISH! USE FOR CAKES, COOKIES, DRINKS OR FOOD! THIS VERY FINE EDIBLE GLITTER IS TASTELESS & LEAVES A SMOOTH FINISH! NET WEIGHT: 4 GRAMS LEARN… read more
2. Snowflake Designs
- Outline and flood snowflake-shaped cookies with white royal icing, then use a contrasting blue icing to pipe intricate snowflake patterns. Add a touch of edible glitter or luster dust for a frosted look.
3. Gingerbread Men with Royal Icing Details
- Flood gingerbread man-shaped cookies with brown or tan icing. Use red, white, and green icing to pipe on scarves, buttons, and facial expressions for a festive look.
4. Santa Claus Faces
- Decorate Santa-shaped cookies with red and white icing. Use white royal icing for the beard, red for the hat, and add black for the eyes. You can also add edible glitter to the hat for extra sparkle.
5. Festive Lightbulb Cookies
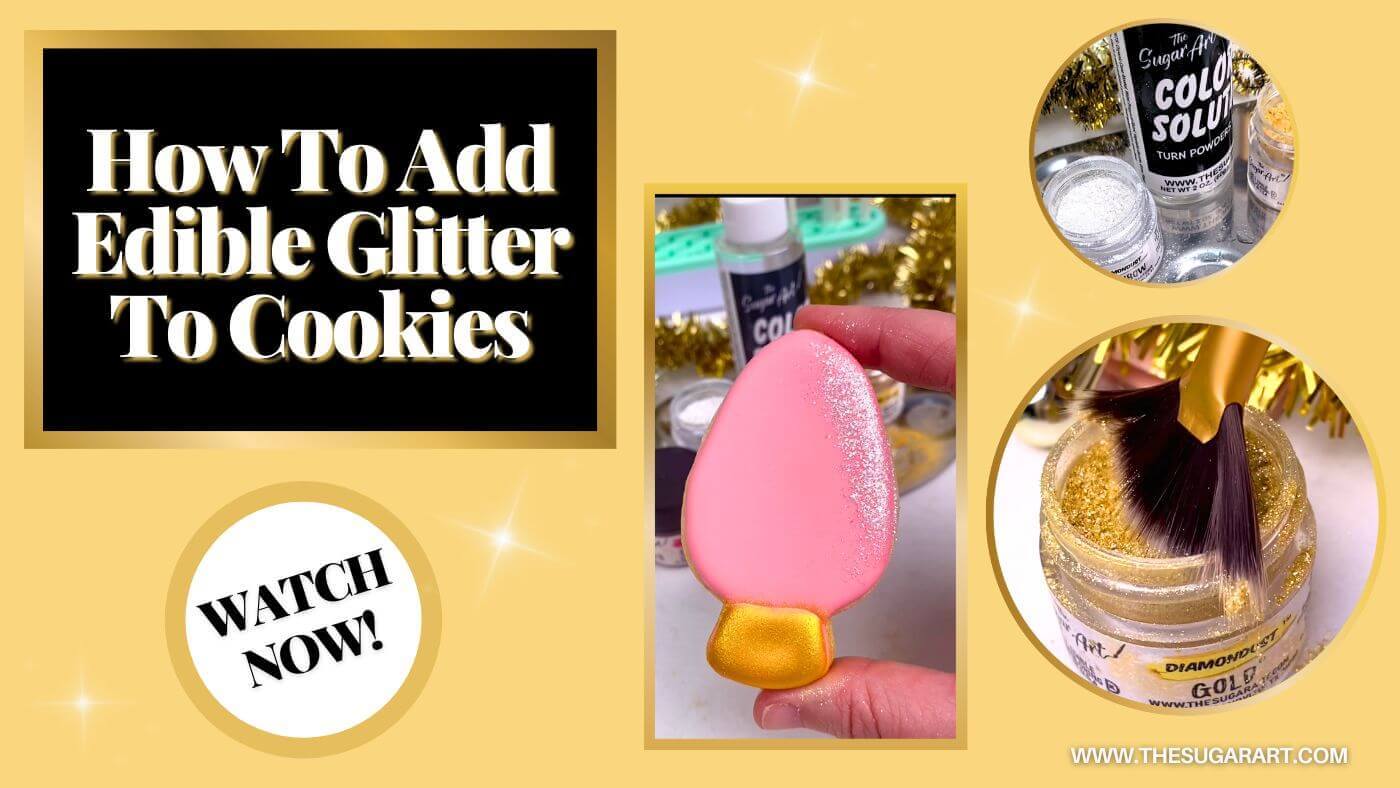
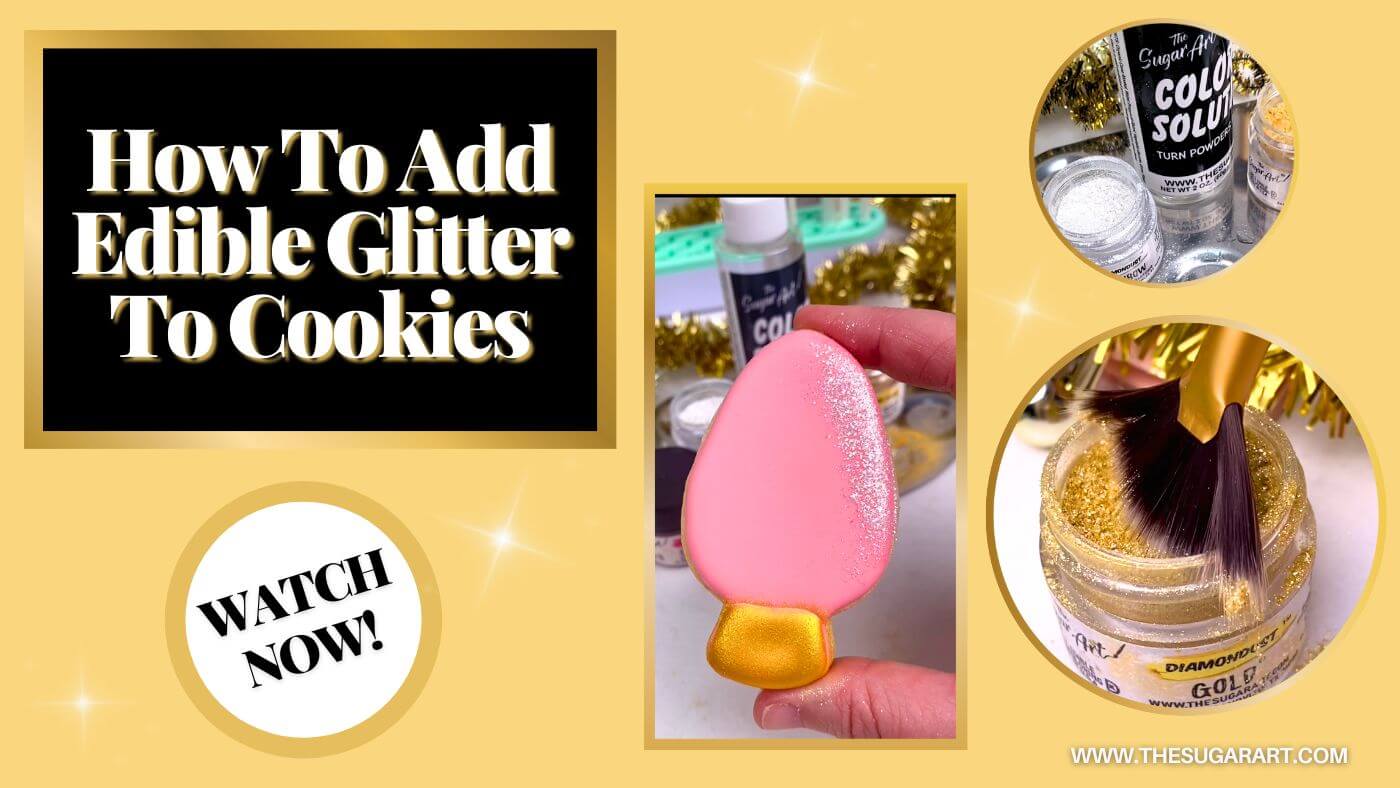
- Cut out light bulb cookies and flood them with our vibrant gel colors! Use piping techniques to add swirl designs, dots, and stripes. Edible gold or silver paint can be used to highlight the ornament’s top, too! In fact, here's another blog you should checkout on adding Edible Glitter and Luster Dust to light bulb cookies!
6. Ugly Christmas Sweater Cookies
- Use sweater-shaped cookie cutters and flood the cookies with different colored icing. Once dry, pipe various fun and quirky designs, such as reindeer, snowmen, or Christmas trees, for that “ugly sweater” look.
7. Peppermint Candy-Inspired Cookies
- Flood round cookies with white icing, then pipe red and white swirl designs to mimic peppermint candies. You can also add a light dusting of crushed peppermint candy for extra flavor and texture.
8. And a non-royal icing idea: Holly Wreath Cookies (click here)!
- Here's a very fun blog on marshmallow / cornflake cookies! We had to provide at least one alternative cookie for Christmas ;) click the image below!
9. Reindeer Cookies
- Create reindeer-shaped cookies and flood them with brown icing. Use darker brown for antlers, black for eyes, and red for a Rudolph nose. You can pipe small white details for added depth.
10. Festive Ornaments
- Create round ornament-shaped cookies and flood them with vibrant colors. Use piping techniques to add swirl designs, dots, and stripes. Edible gold or silver paint can be used to highlight the ornament’s top.
These Christmas cookie decorating ideas provide a mix of traditional and whimsical designs, making your royal icing sugar cookies (or ALL Christmas cookies) stand out this Christmas.
THANK YOU & IP Notice
We appreciate your support so much and hope you enjoyed our blog on Christmas Cookie Decorating Ideas! We are thrilled to share with you a little piece of Holly's personal family history through the sugar cookie recipe and know if you give this cookie recipe a try, you will absolutely love that you did! We also firmly believe if you'll follow Ed's Royal Icing instruction - you will succeed at mastering a one-flood consistency for both outlining and flooding your Christmas Cookies!
Intellectual Property Notice:
In regards to the Sugar Cookie Recipe shared here. Please understand this sugar cookie recipe is apart of Holly's family legacy and is not permitted to be re-distributed or sold by any other persons or companies. By having it on The Sugar Art Inc.'s website, it is now copy-written and protected by Intellectual Property Law. This is a very special part of her family's history that we will protect.
Edward Frys, Owner / President
Christmas Cookie Decorating Ideas!
Transcript from video:

